

OrcaSlicer-ImageMap
An OrcaSlicer Fork with Image Printing Support (via overhang modulation)

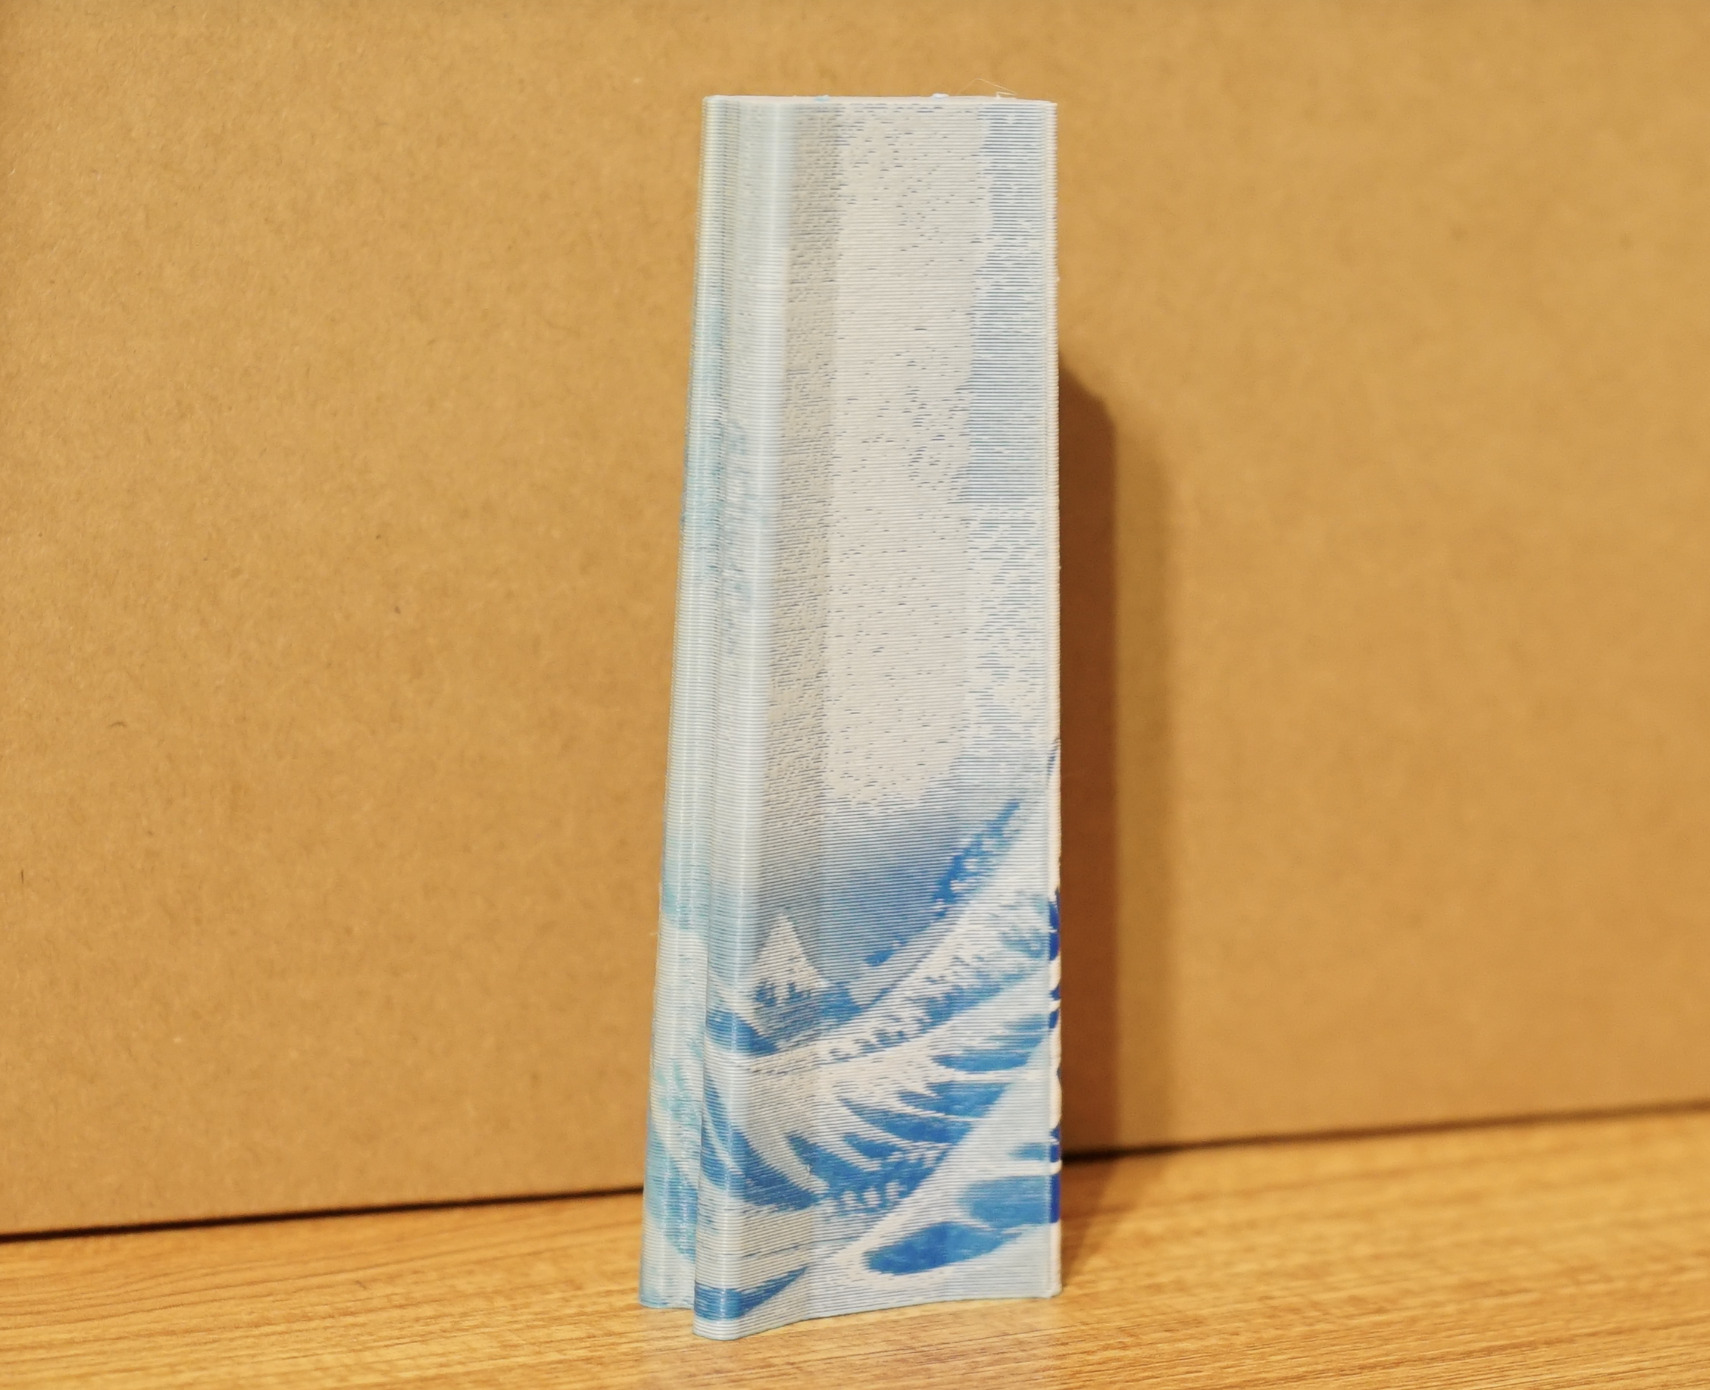
Test print with white, beige, light and dark blue PLA:
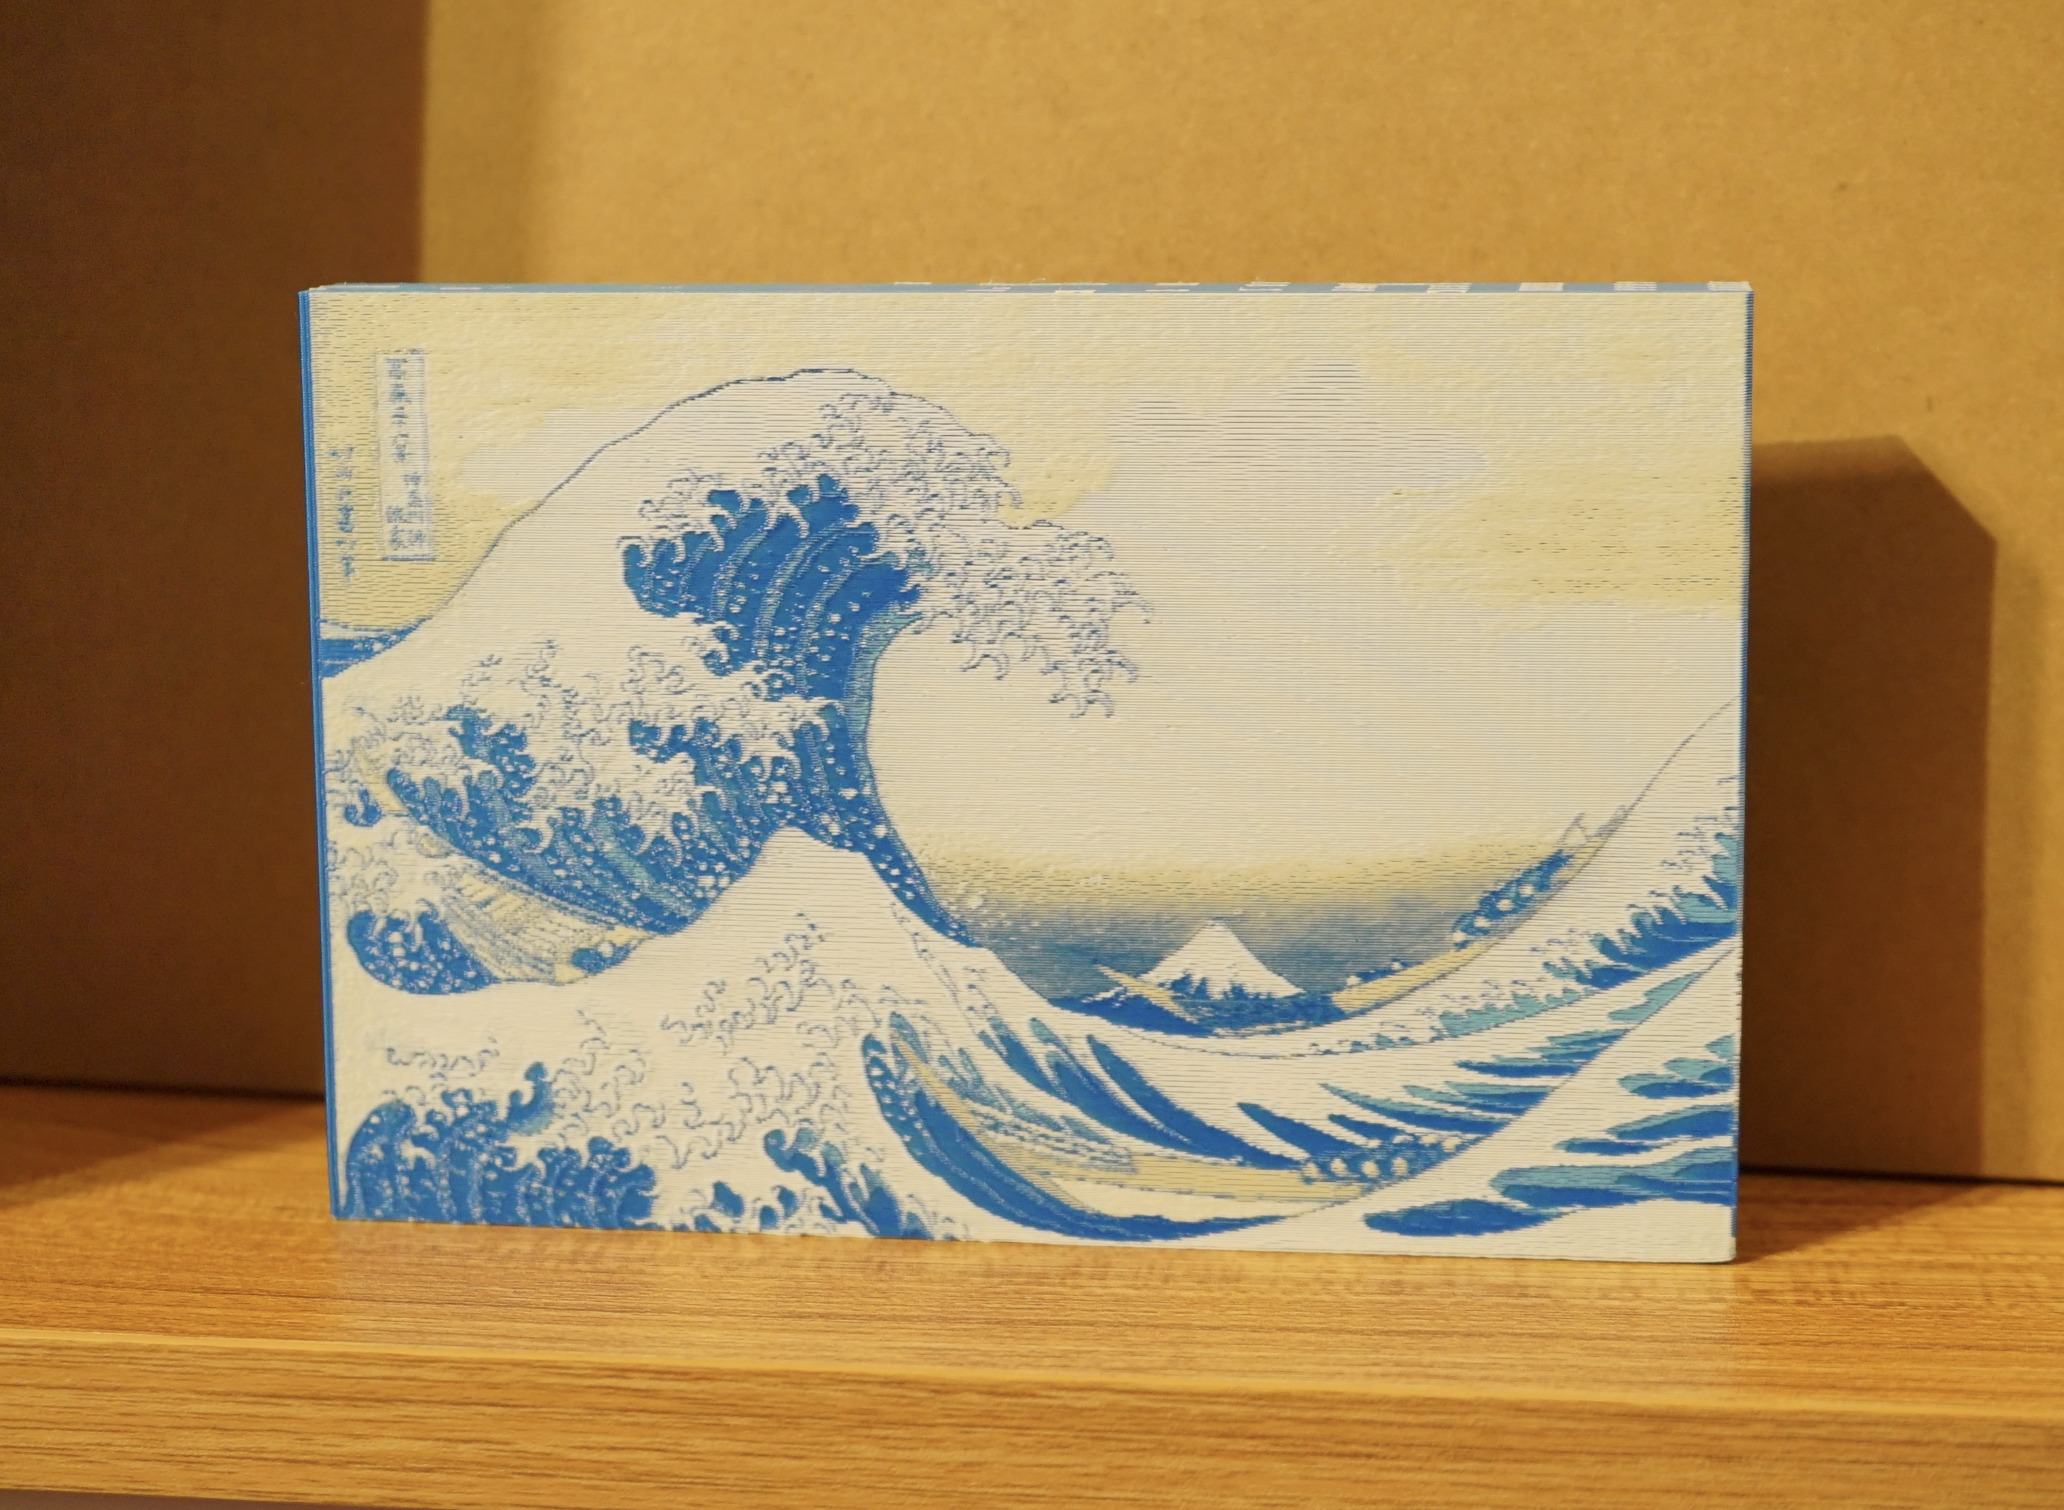 (image: The Great Wave off Kanagawa - Katsushika Hokusai)
This color sheet was printed with CMYW PLA:
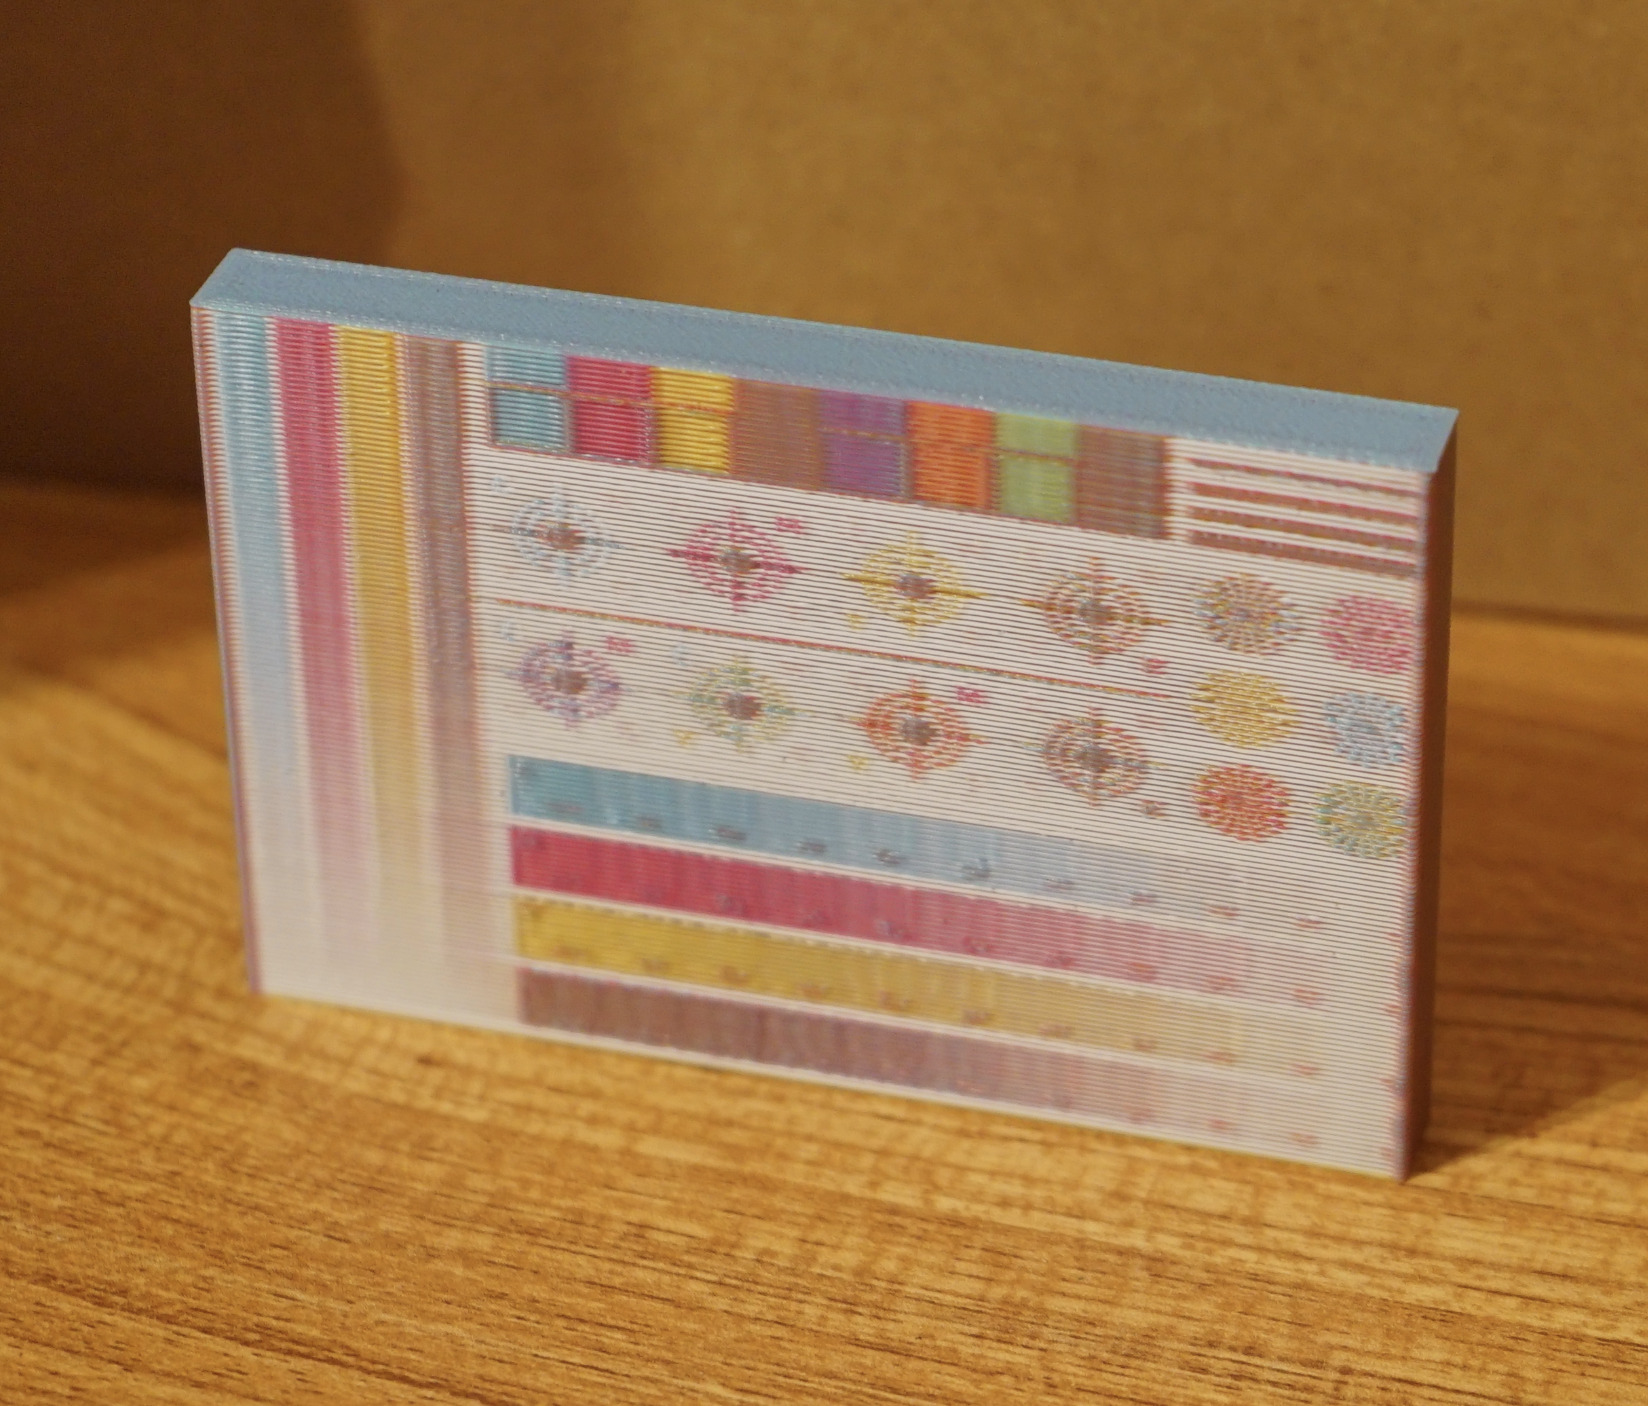 (test sheet image Designed by Freepik)
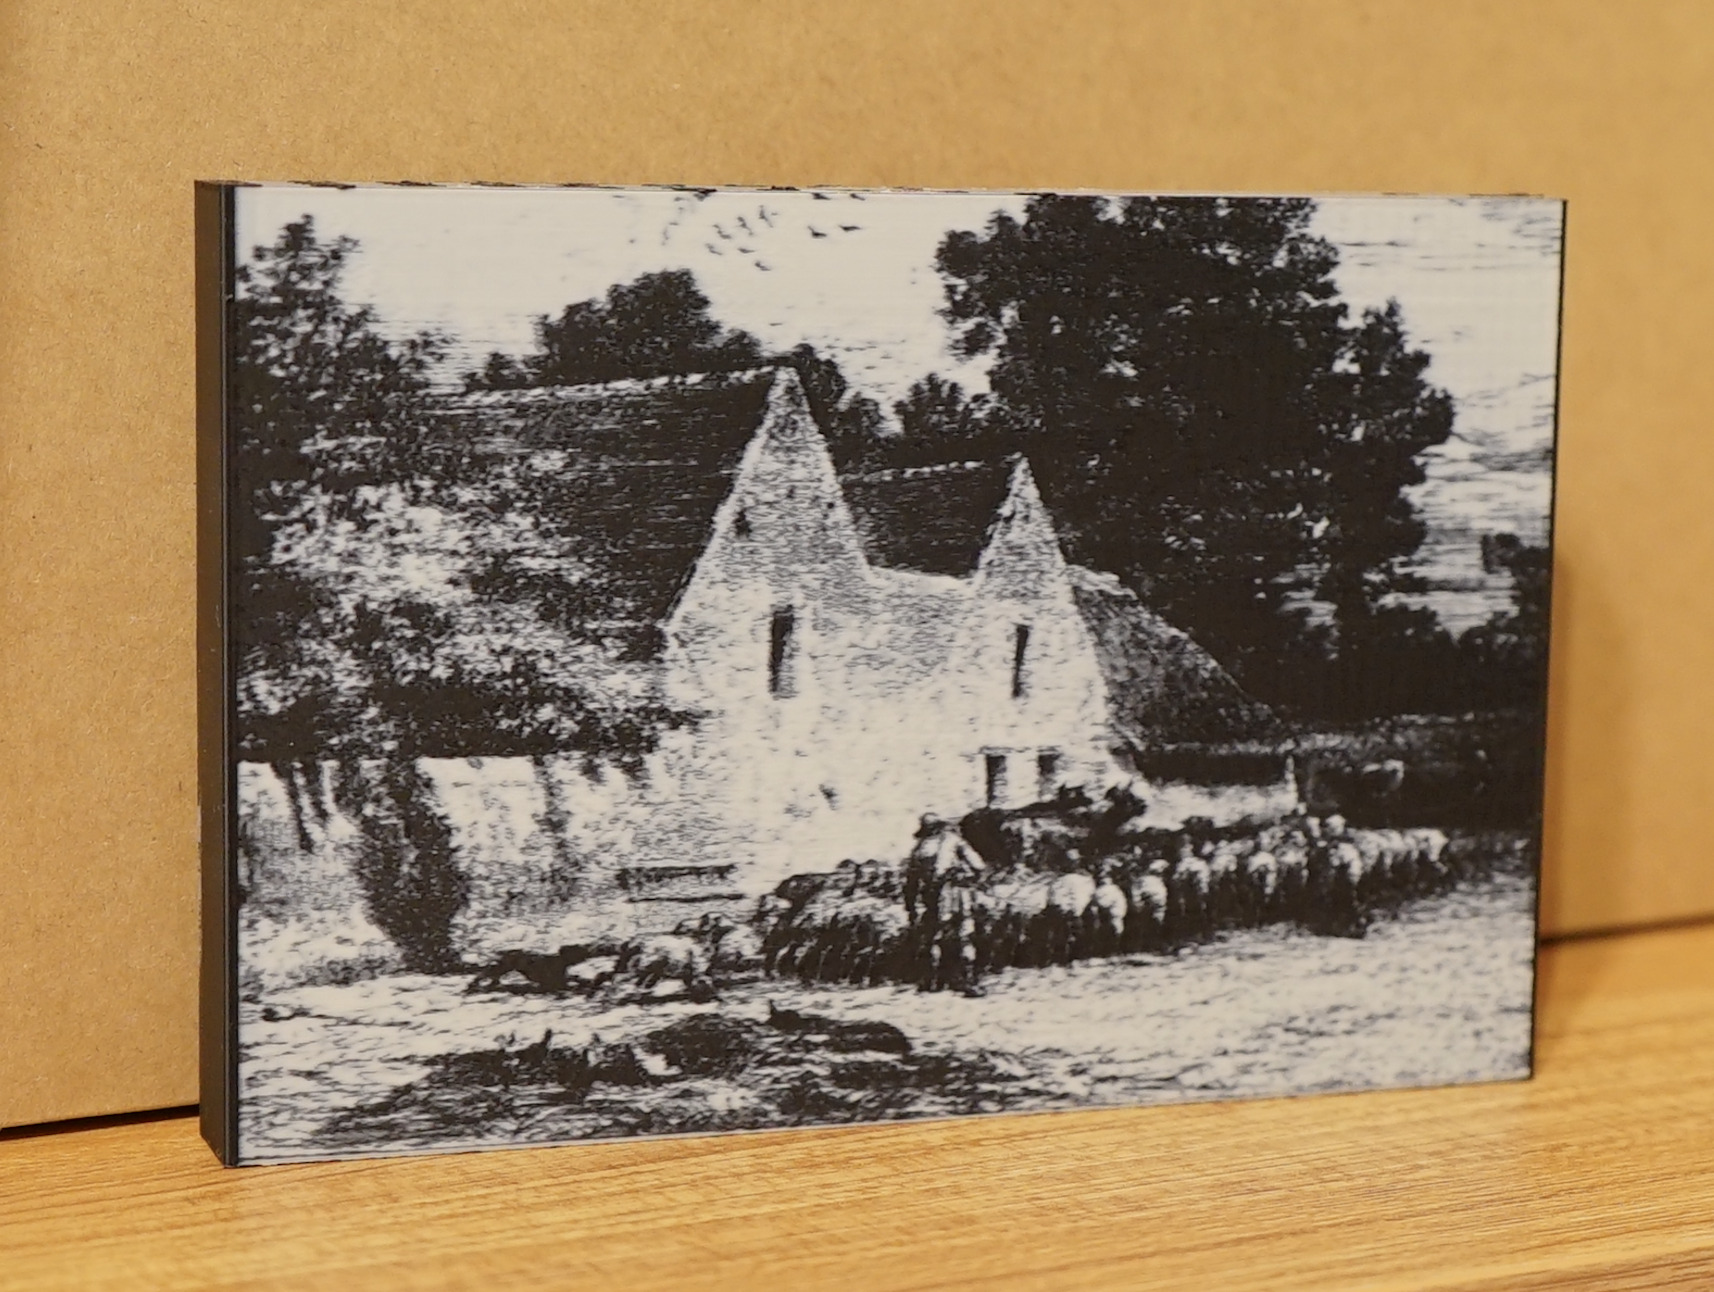
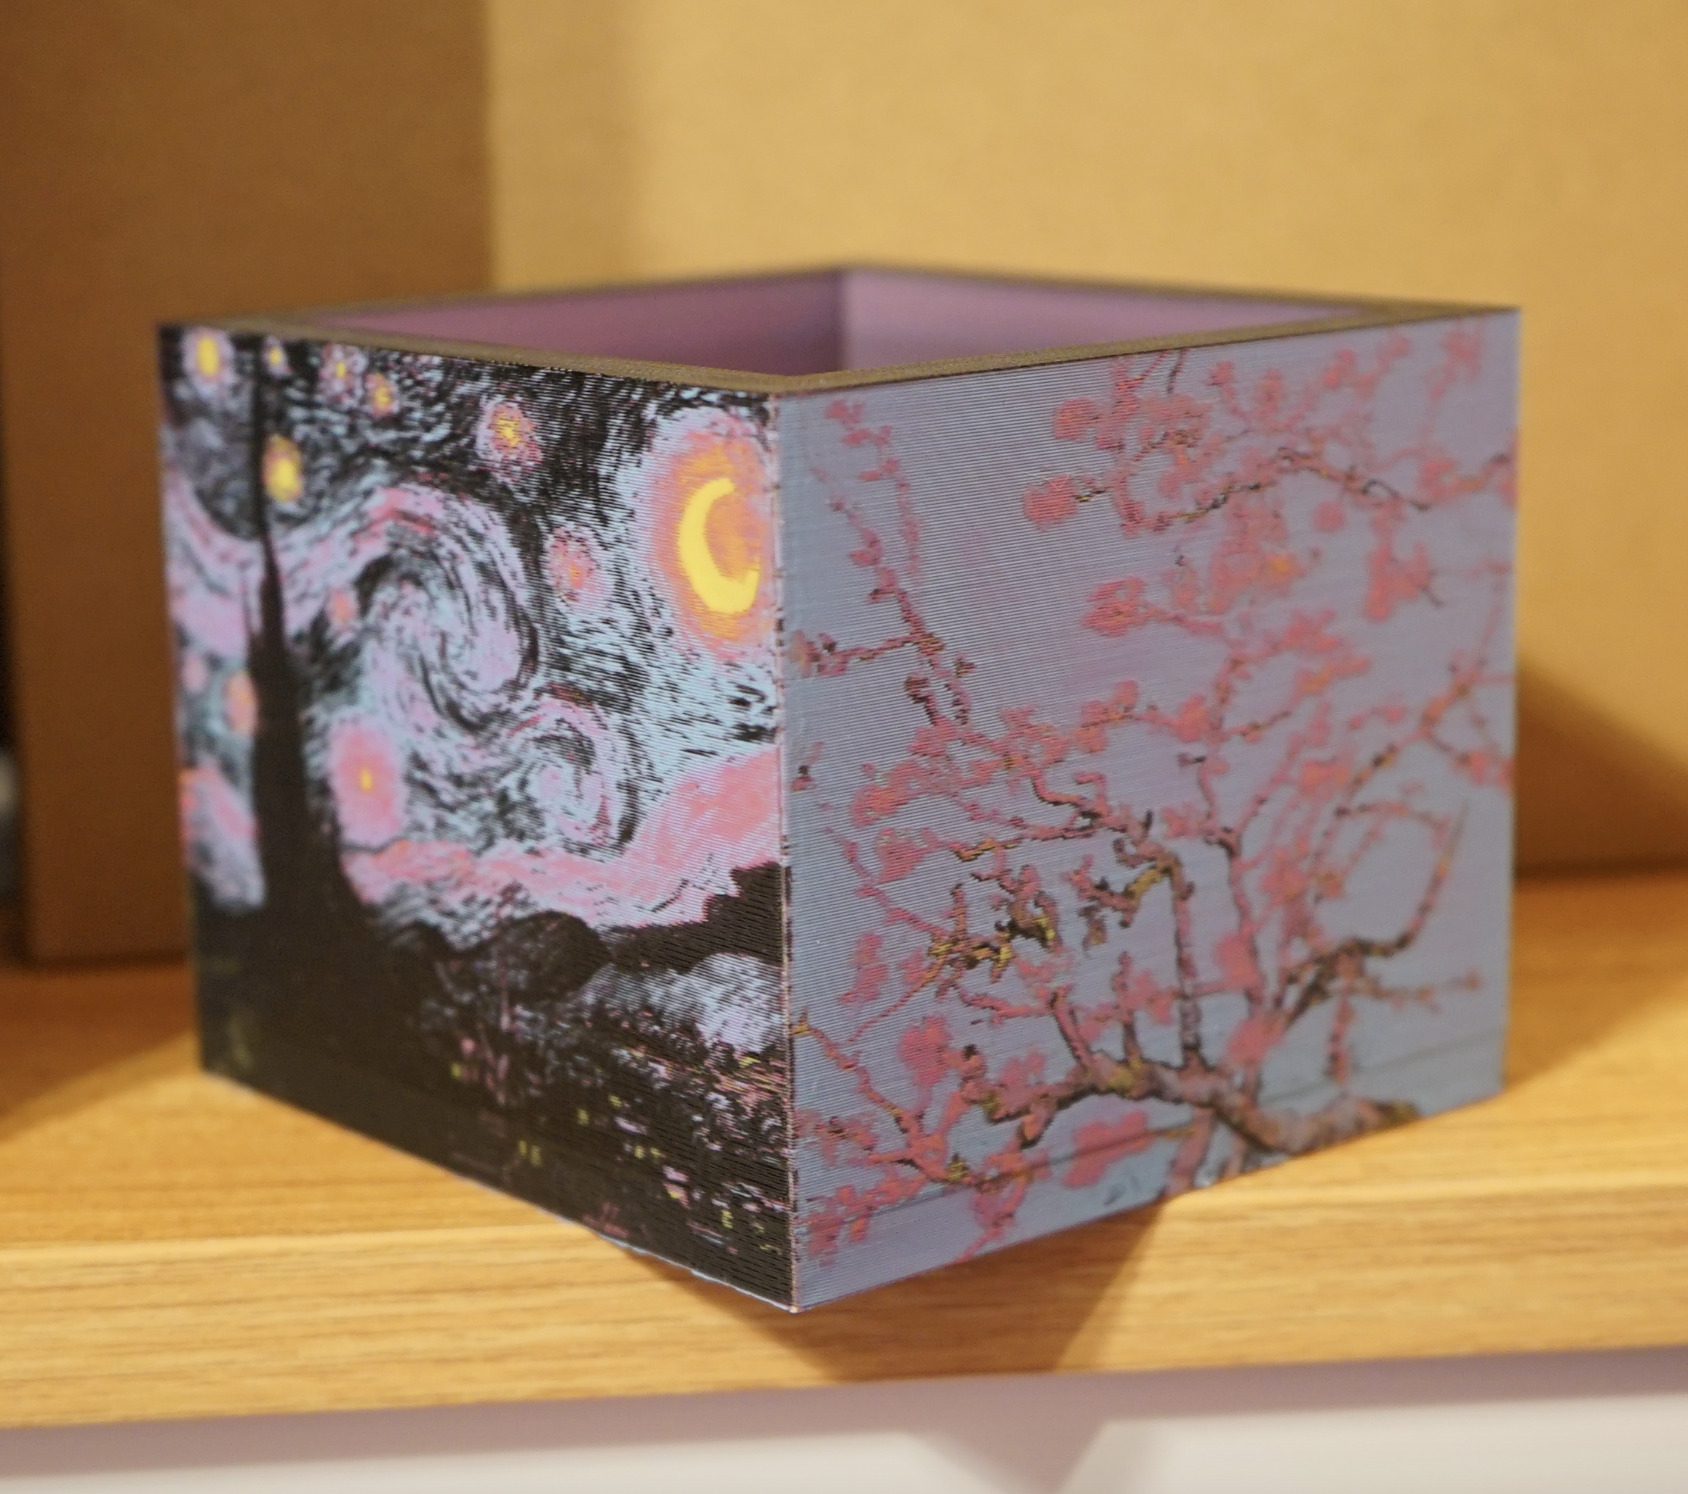
More example prints
Grayscale:
CMYK:
Official links
Github Repository: 
Gitlab Repository: 
Downloads: 
⚠️ IMPORTANT DISCLAIMER ⚠️
This fork is currently in active development and has been tested on actual hardware.
- Use at Your Own Risk: As with any slicer fork, please review critical prints and generated G-code before production use
OrcaSlicer-ImageMap Features
Texture Mapping
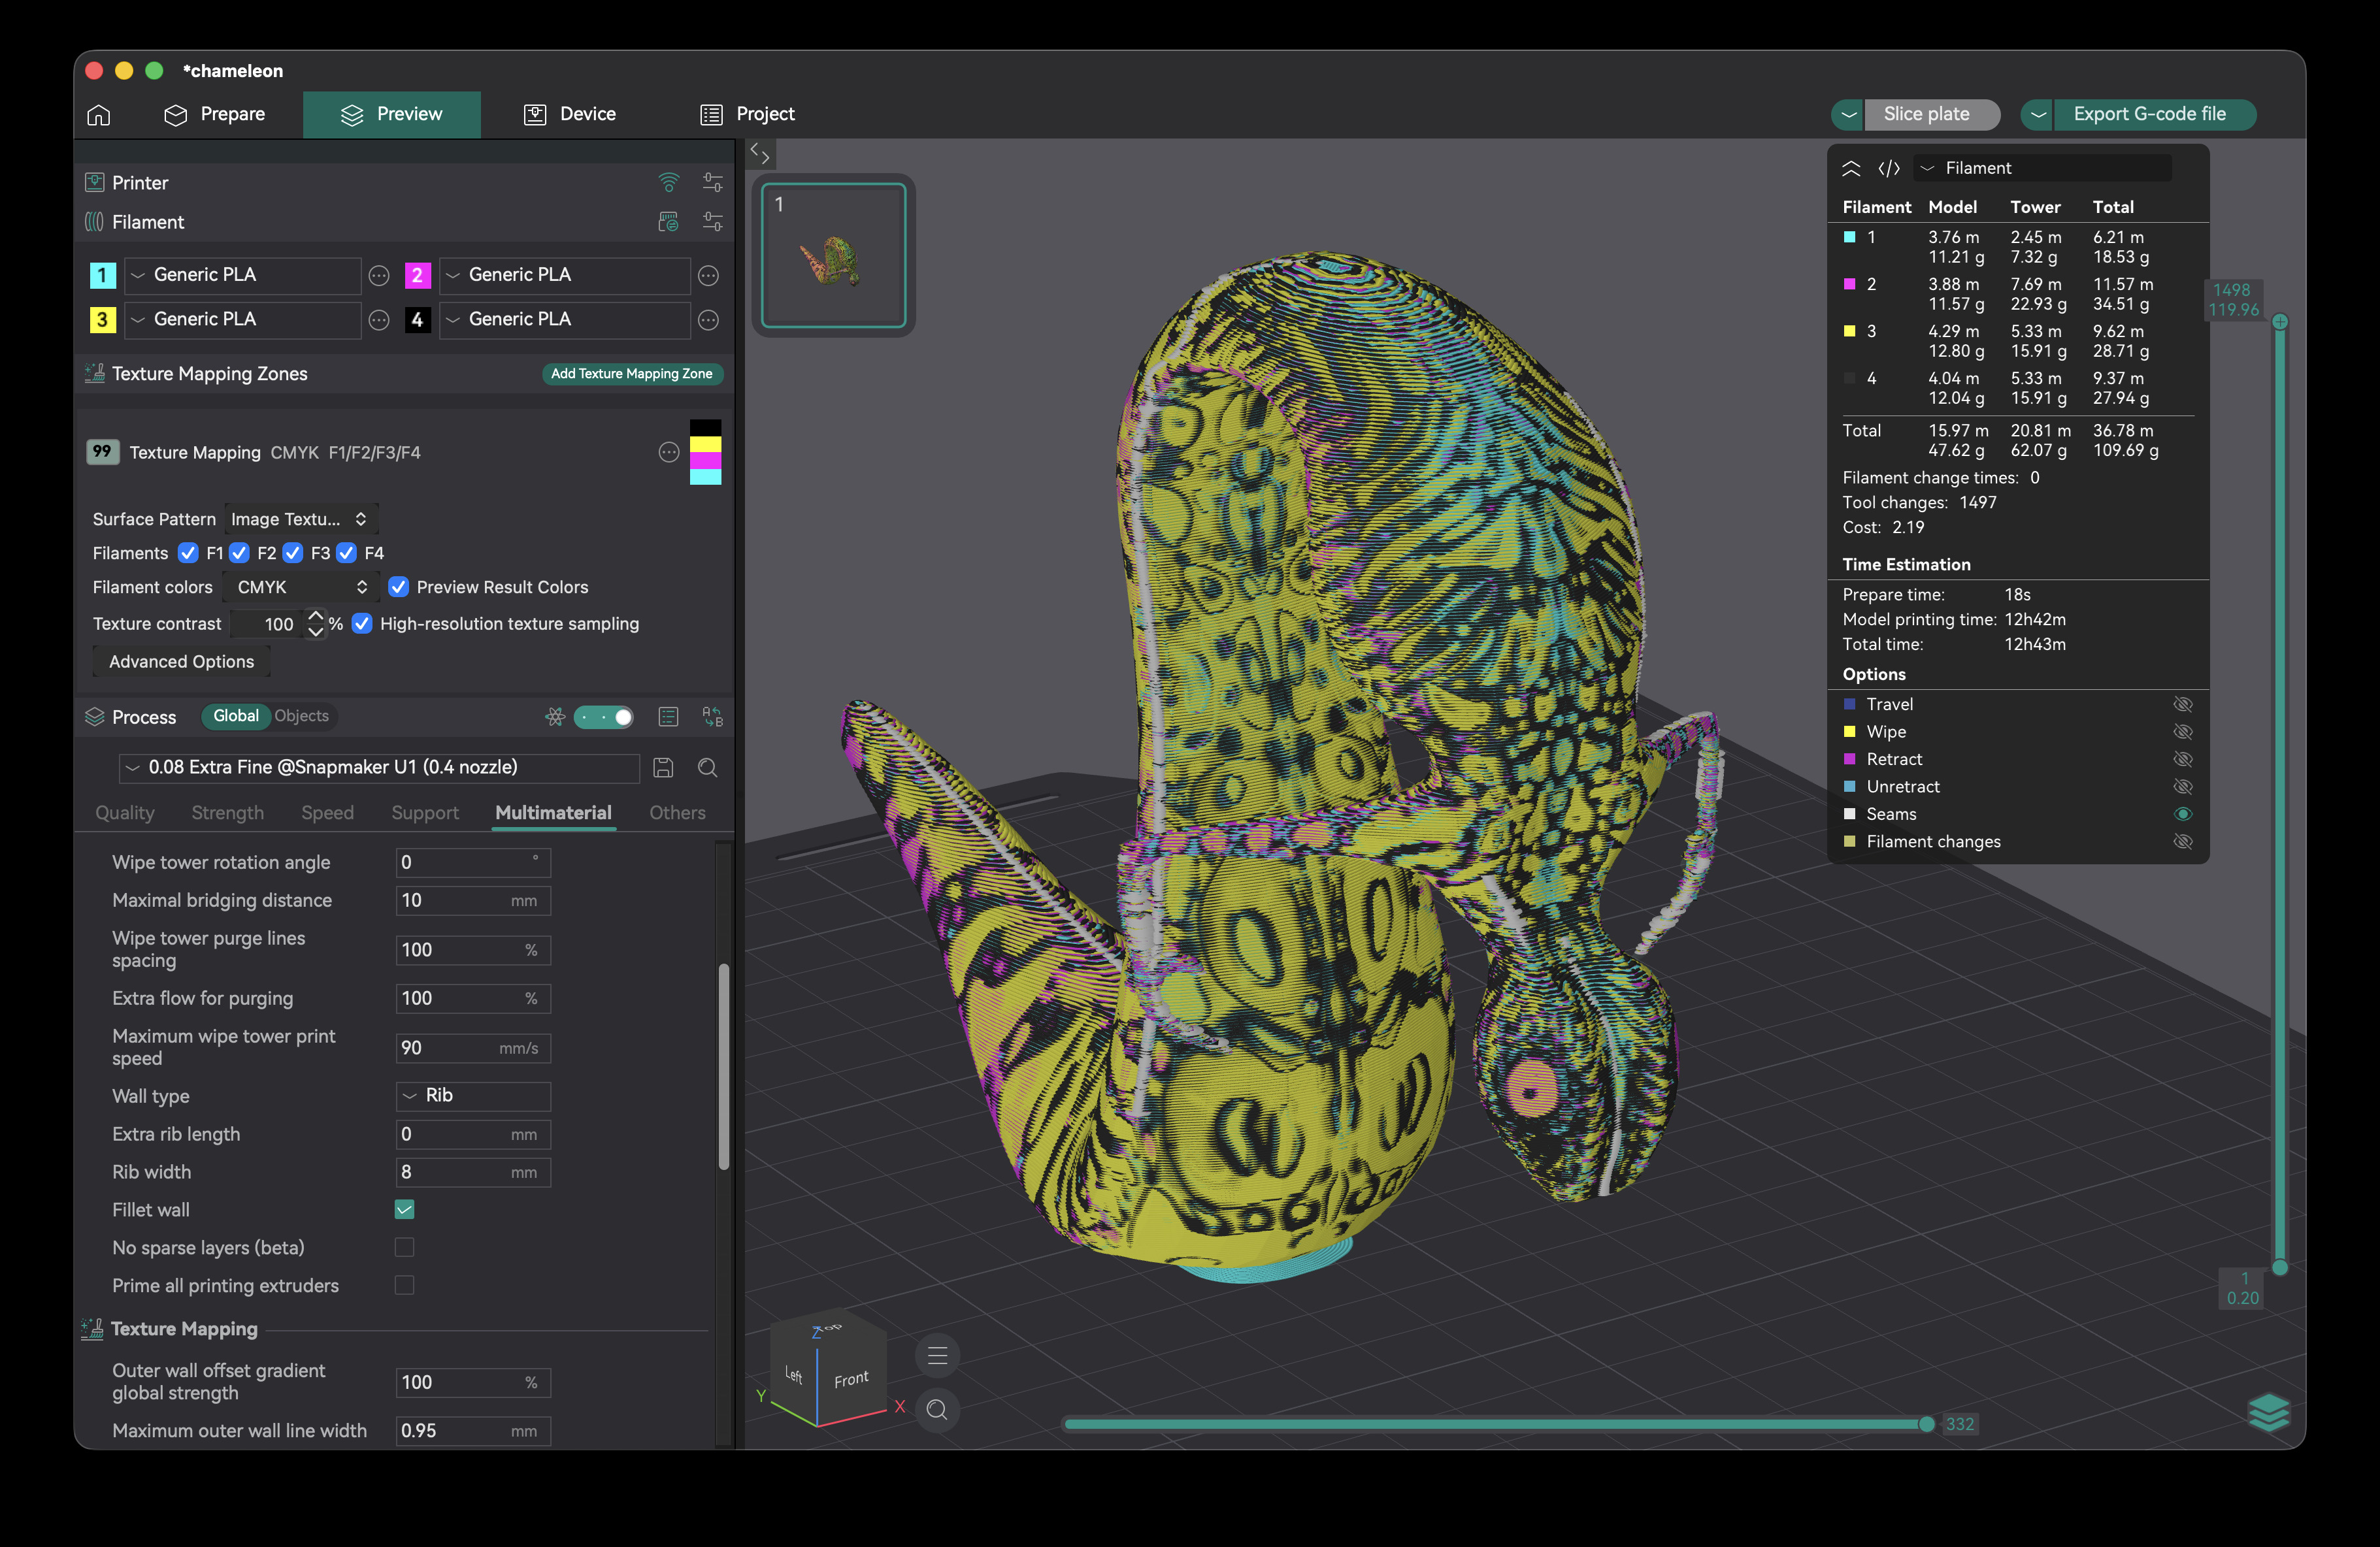
- Create Images on the side surfaces of your 3D prints - each layer alternates through a fixed CMYK (or other) pattern, only varying the amount of overhang around the edge of your print. This creates a smooth surface, printing your image texture on the model with no additional seams.
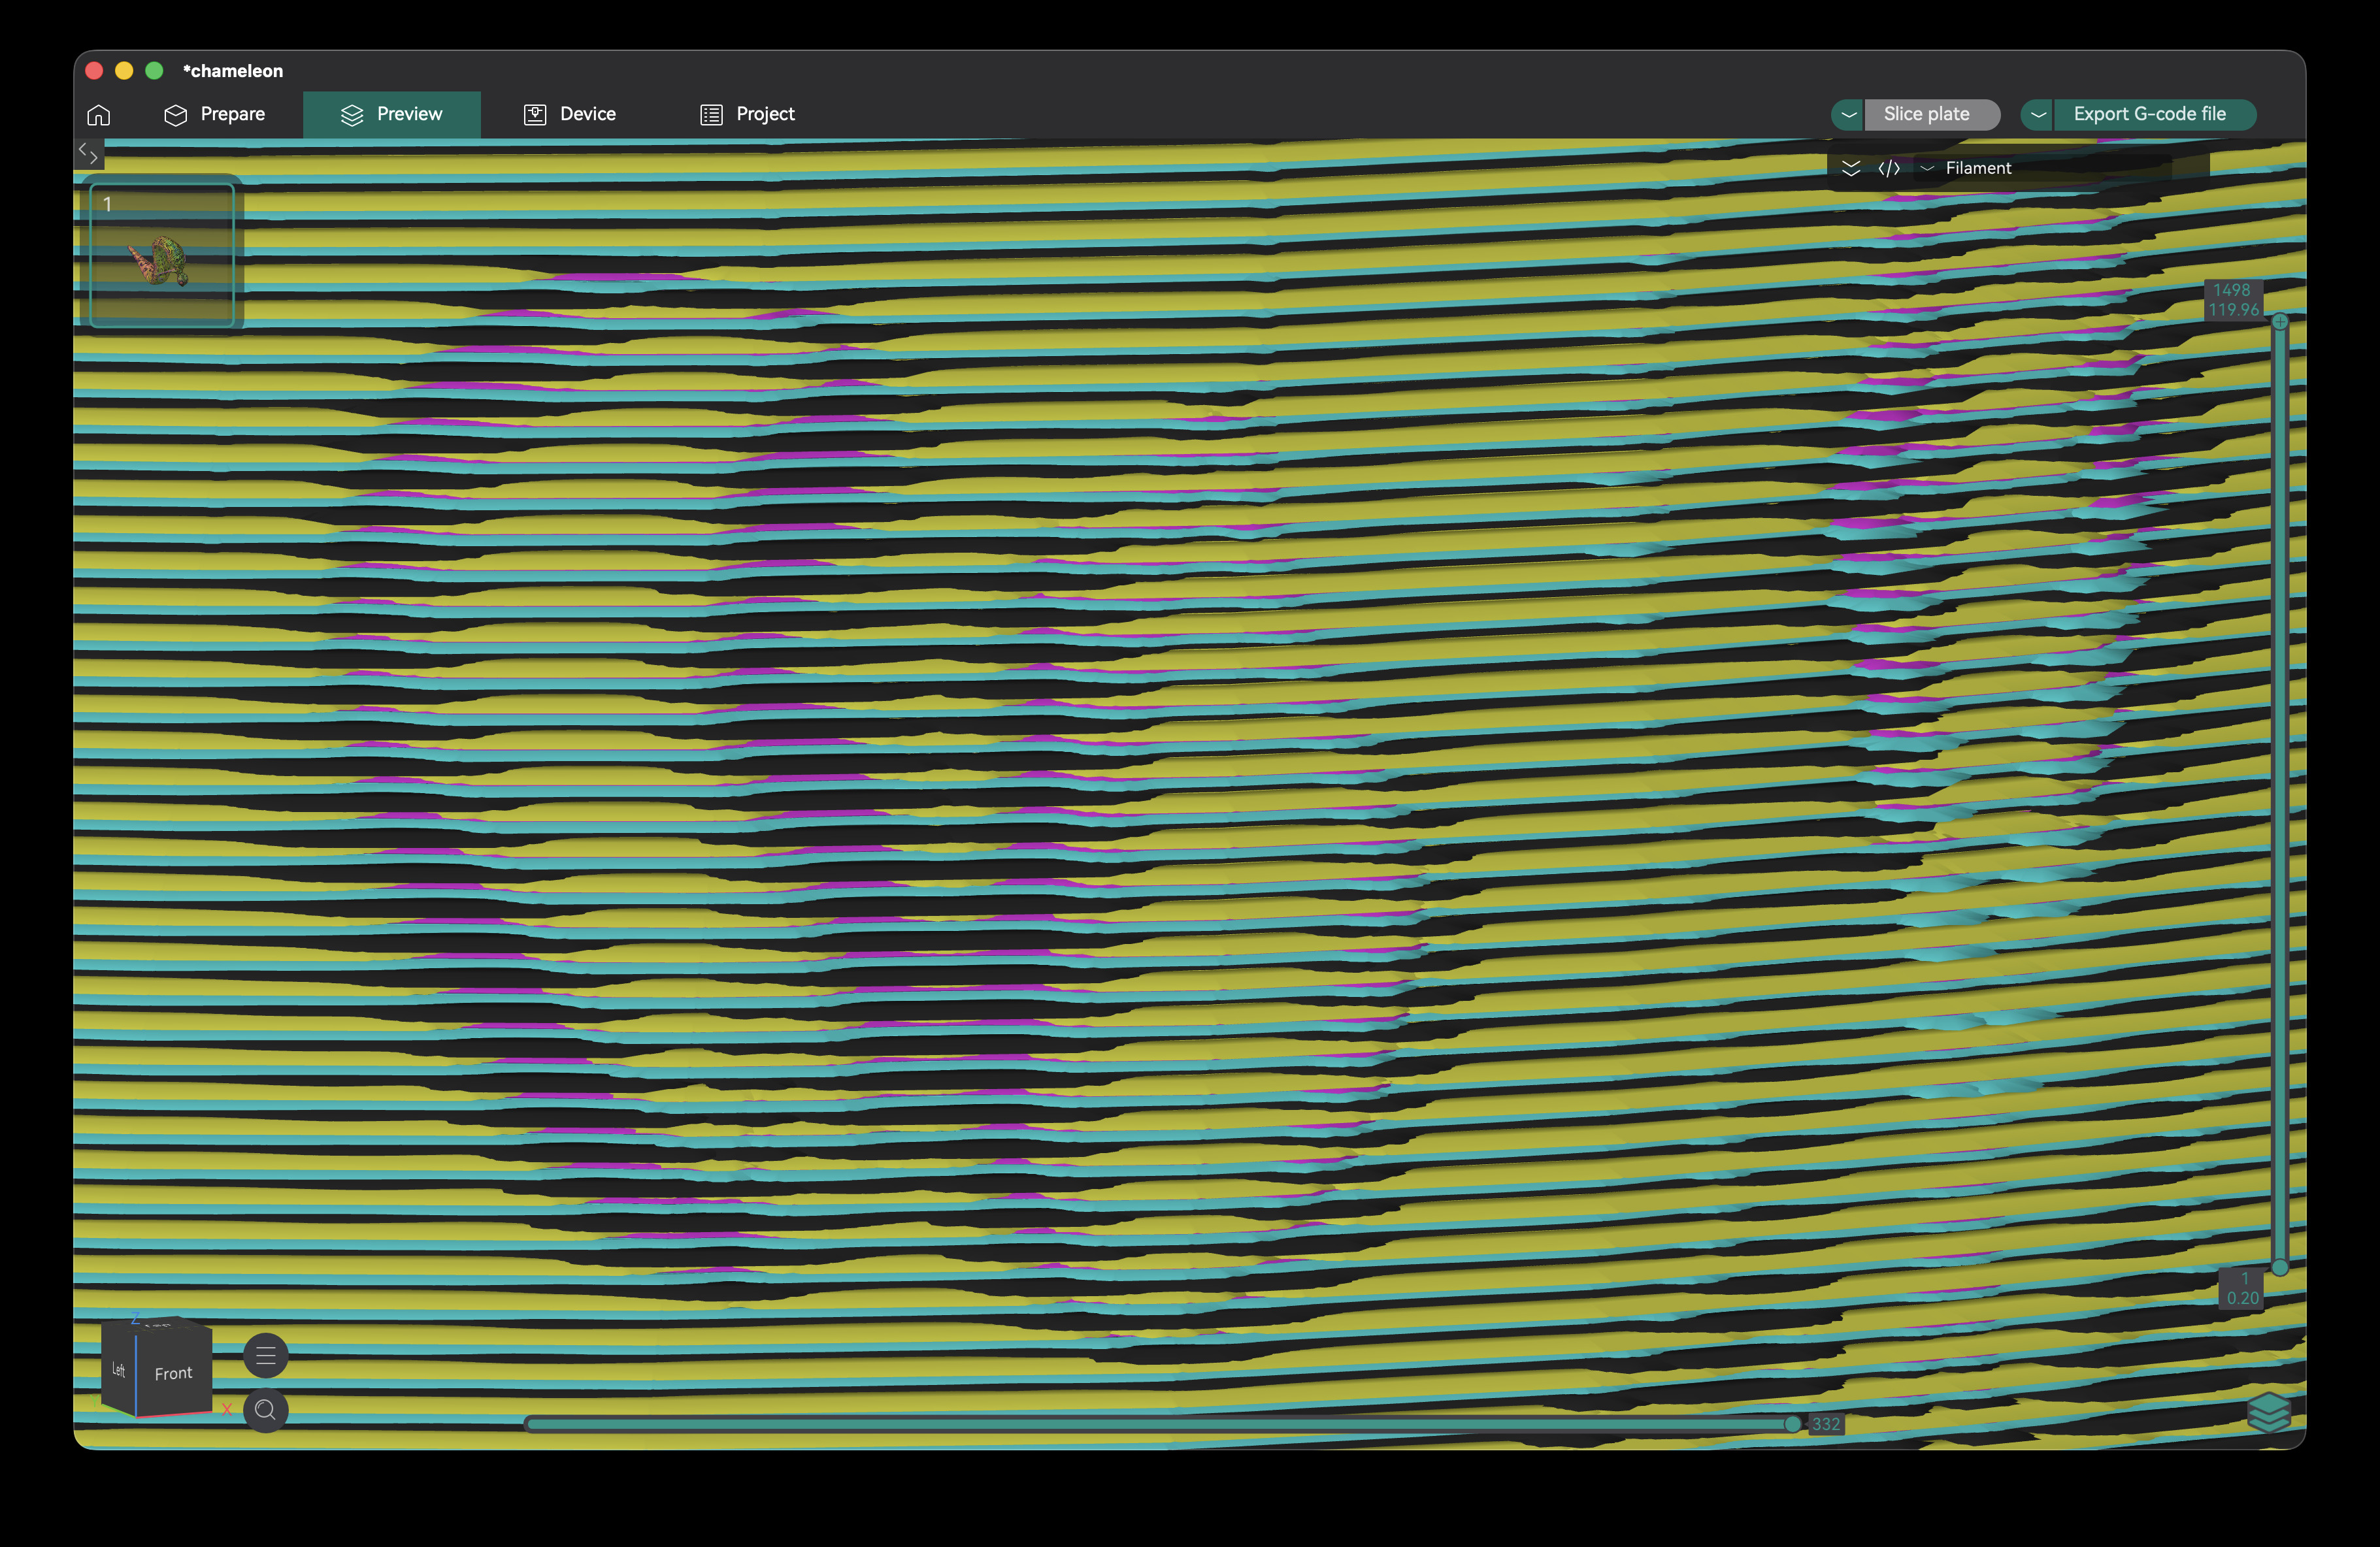
Zoomed-out G-code preview:
3D Model Image Texture Import
- Load OBJ, glTF and GLB files with image textures or vertex colors - slice in full image resolution, no need to subdivide your model or bake vertex colors first
Image Projection
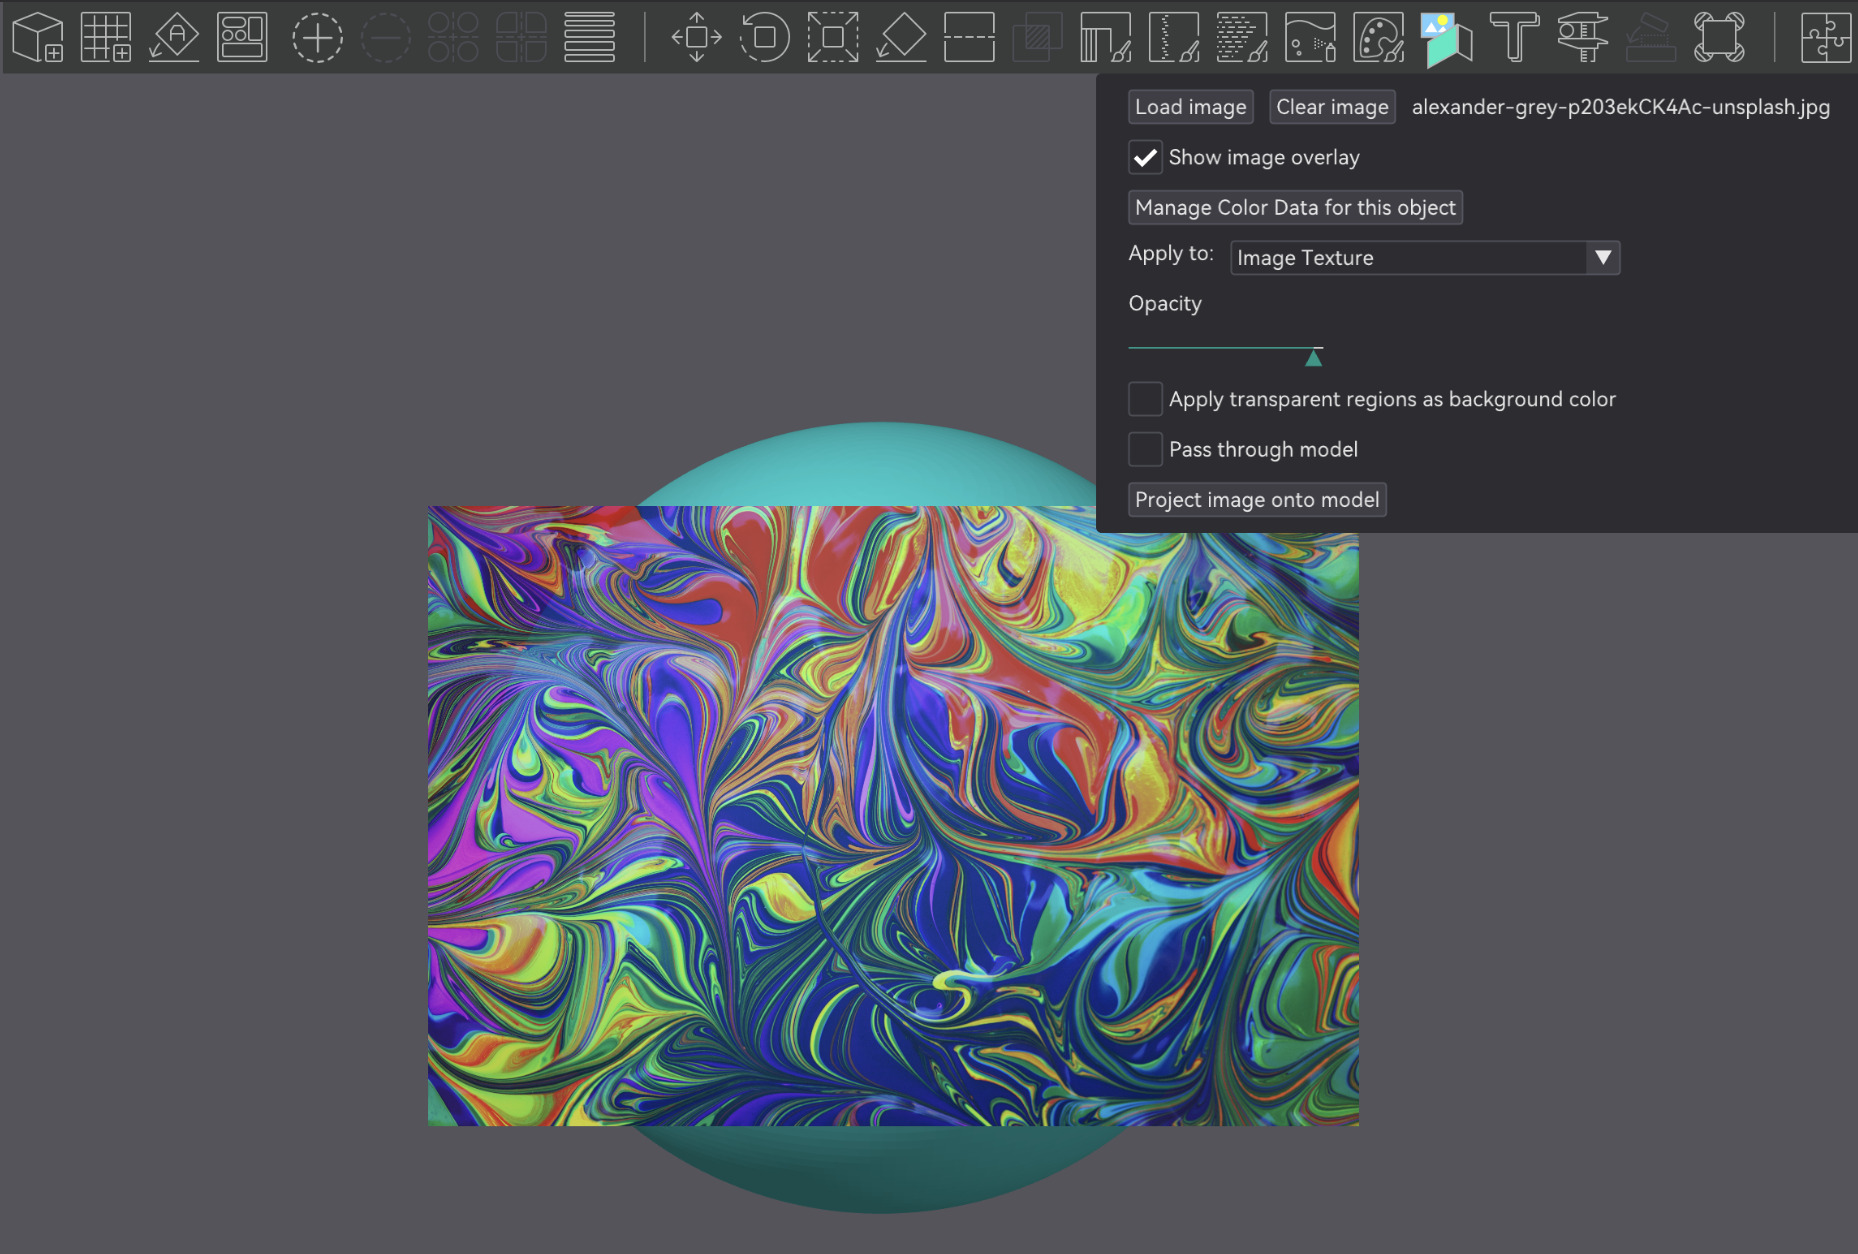
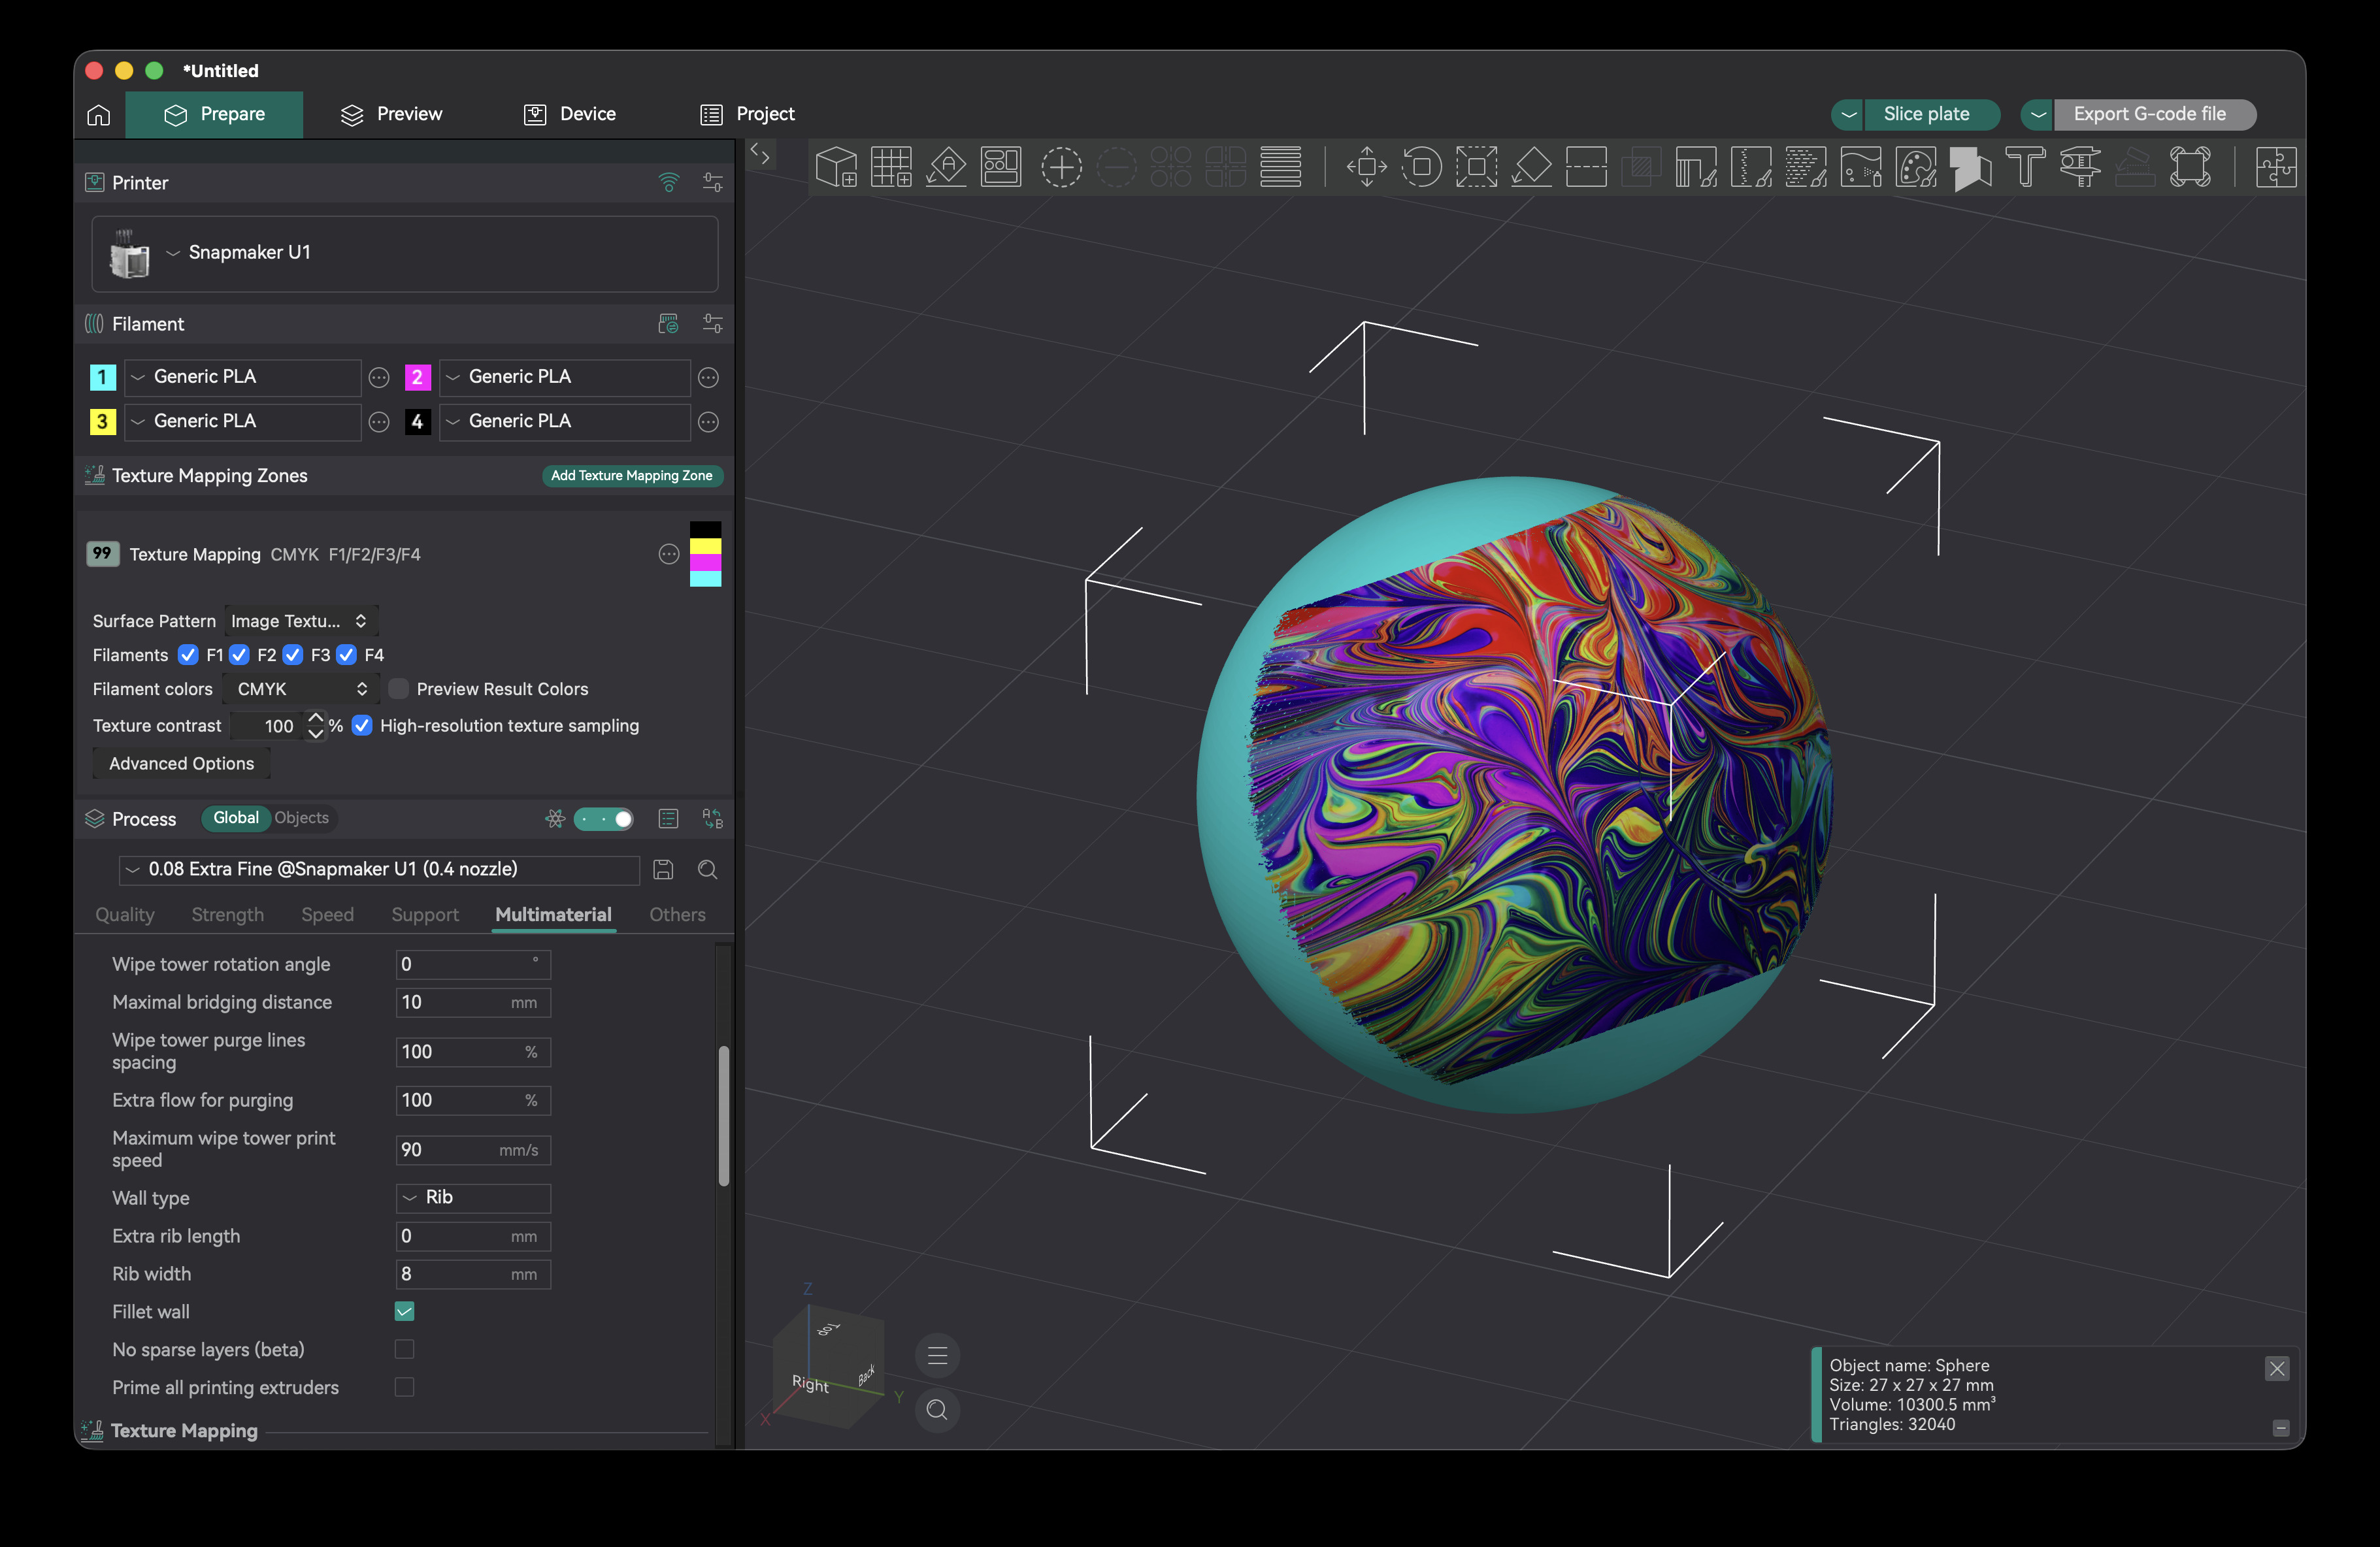
- Import images and project them onto your 3D model. Or use text mode and select a font to project writing
Simplify/Repair/Cut Textured Models
- When using these model utilities, image textures are remapped to the resulting mesh, allowing you to keep your textures.
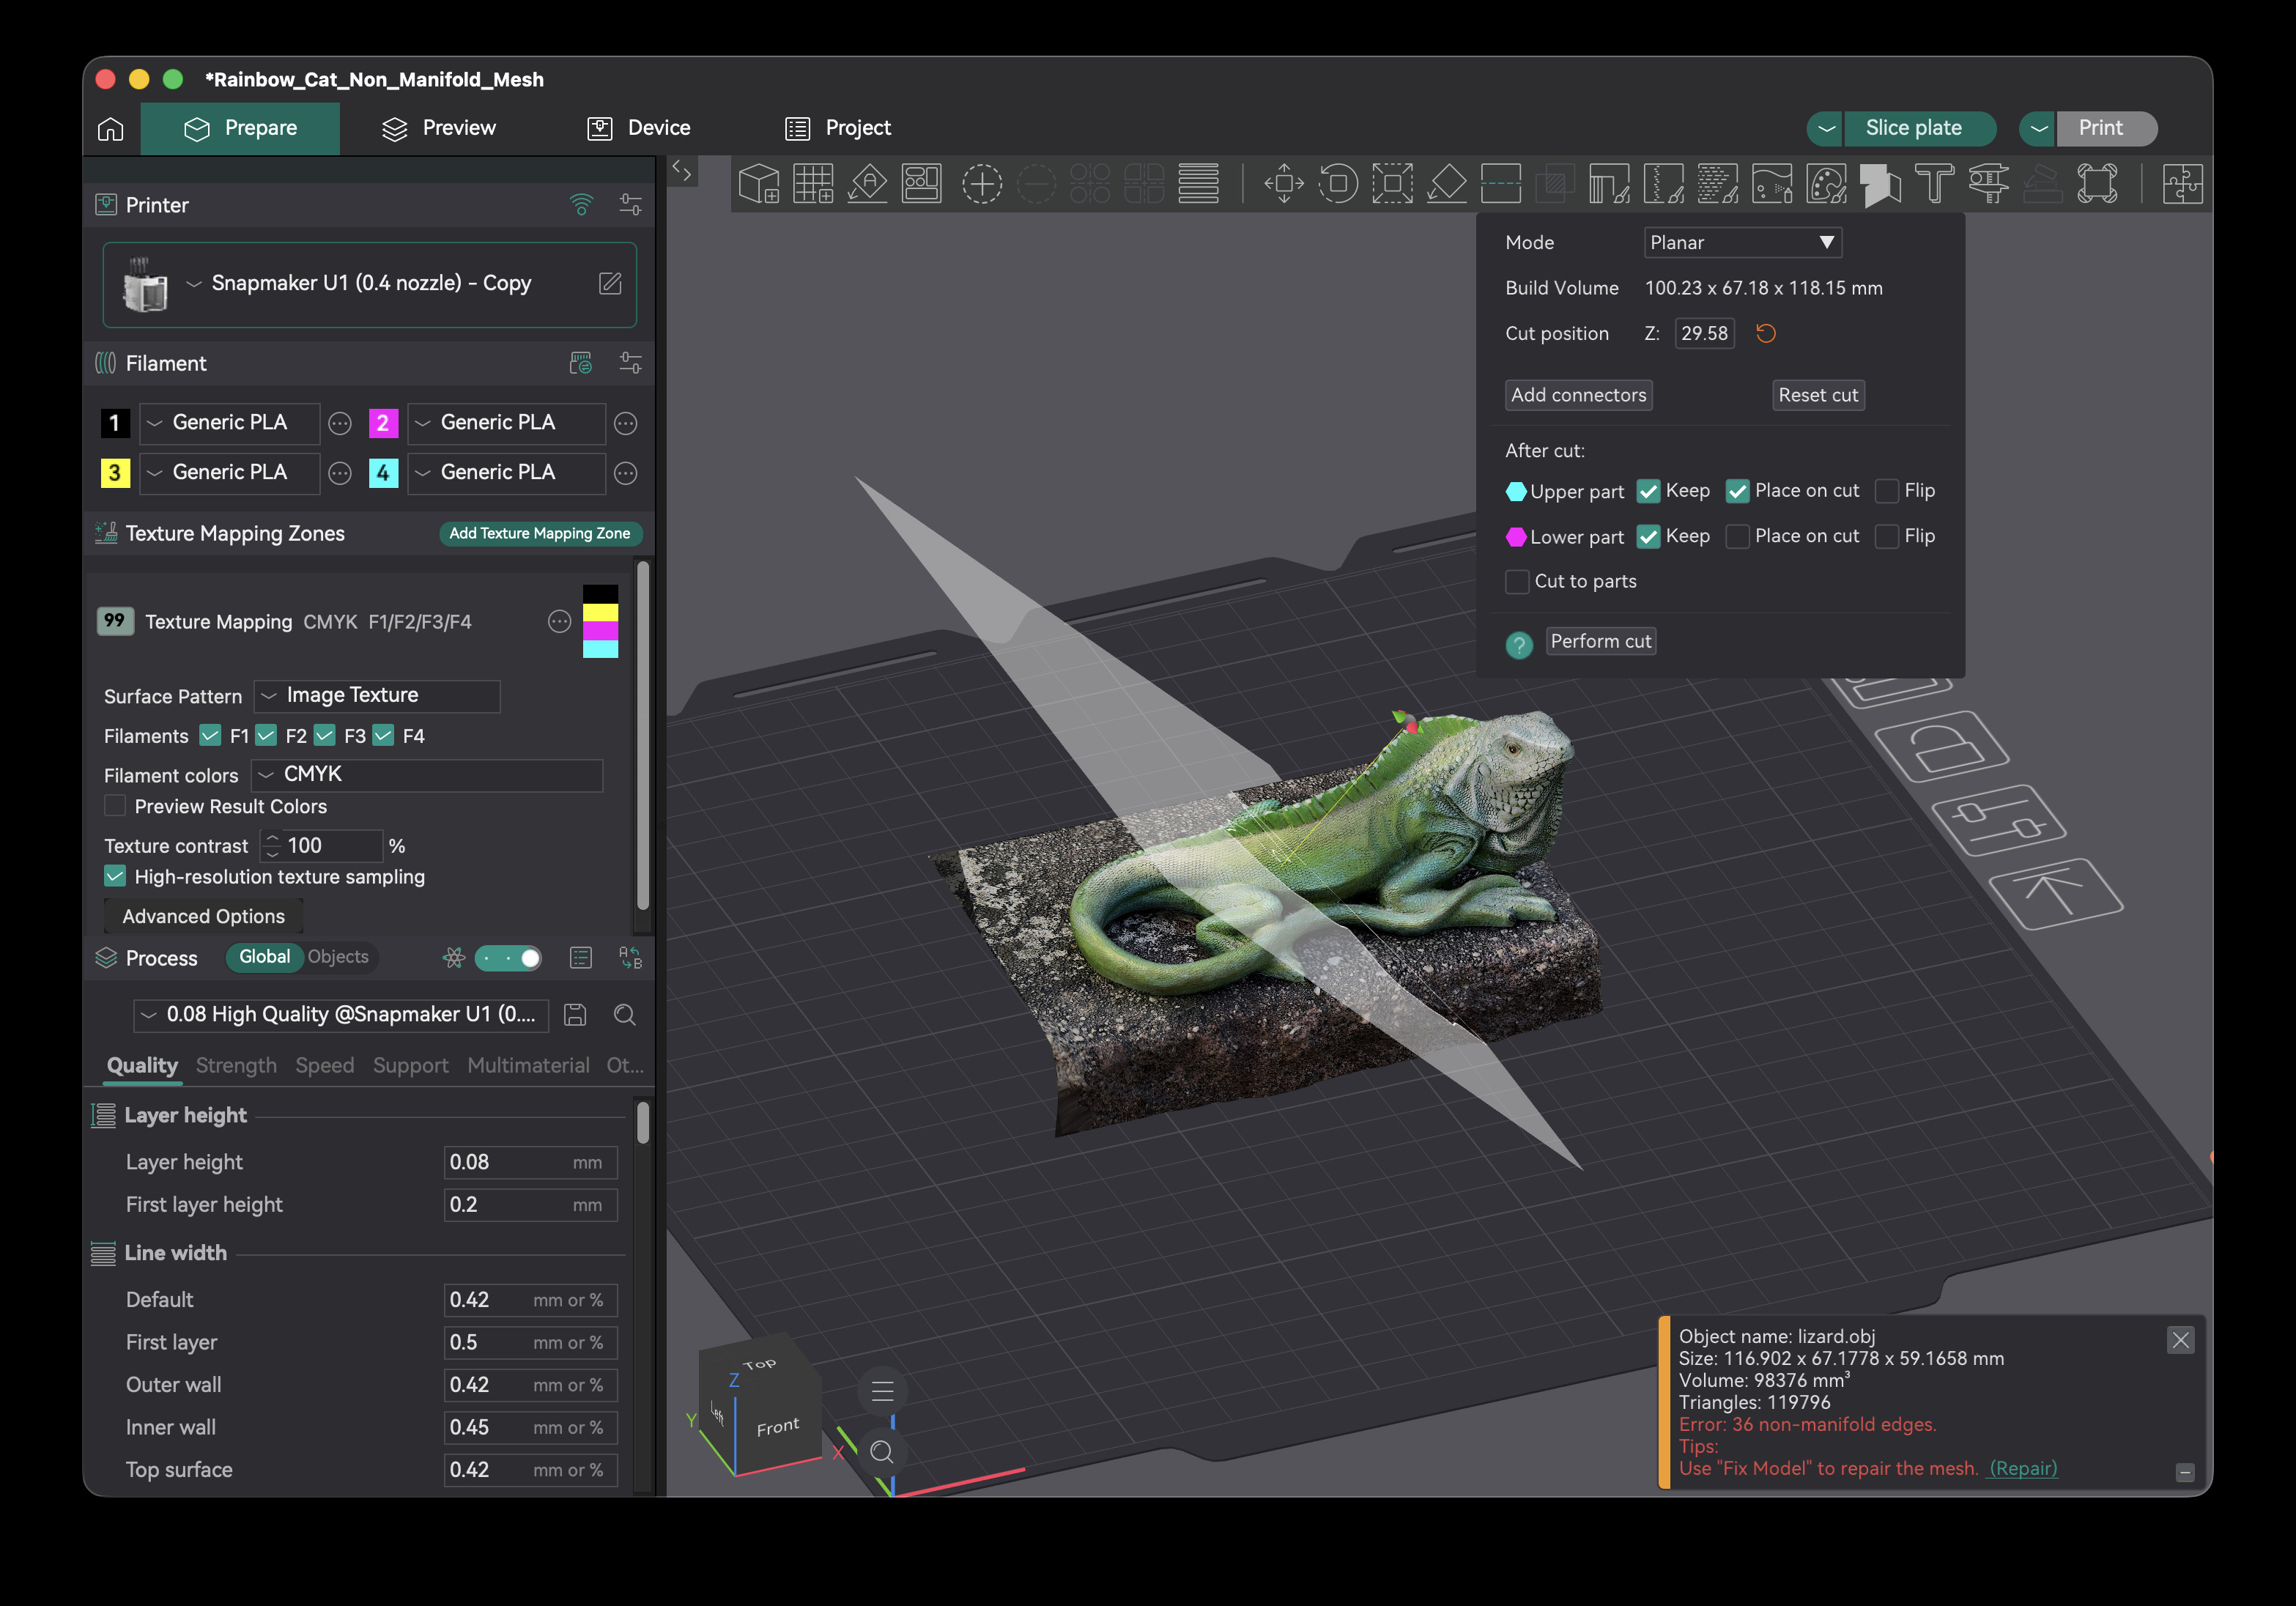
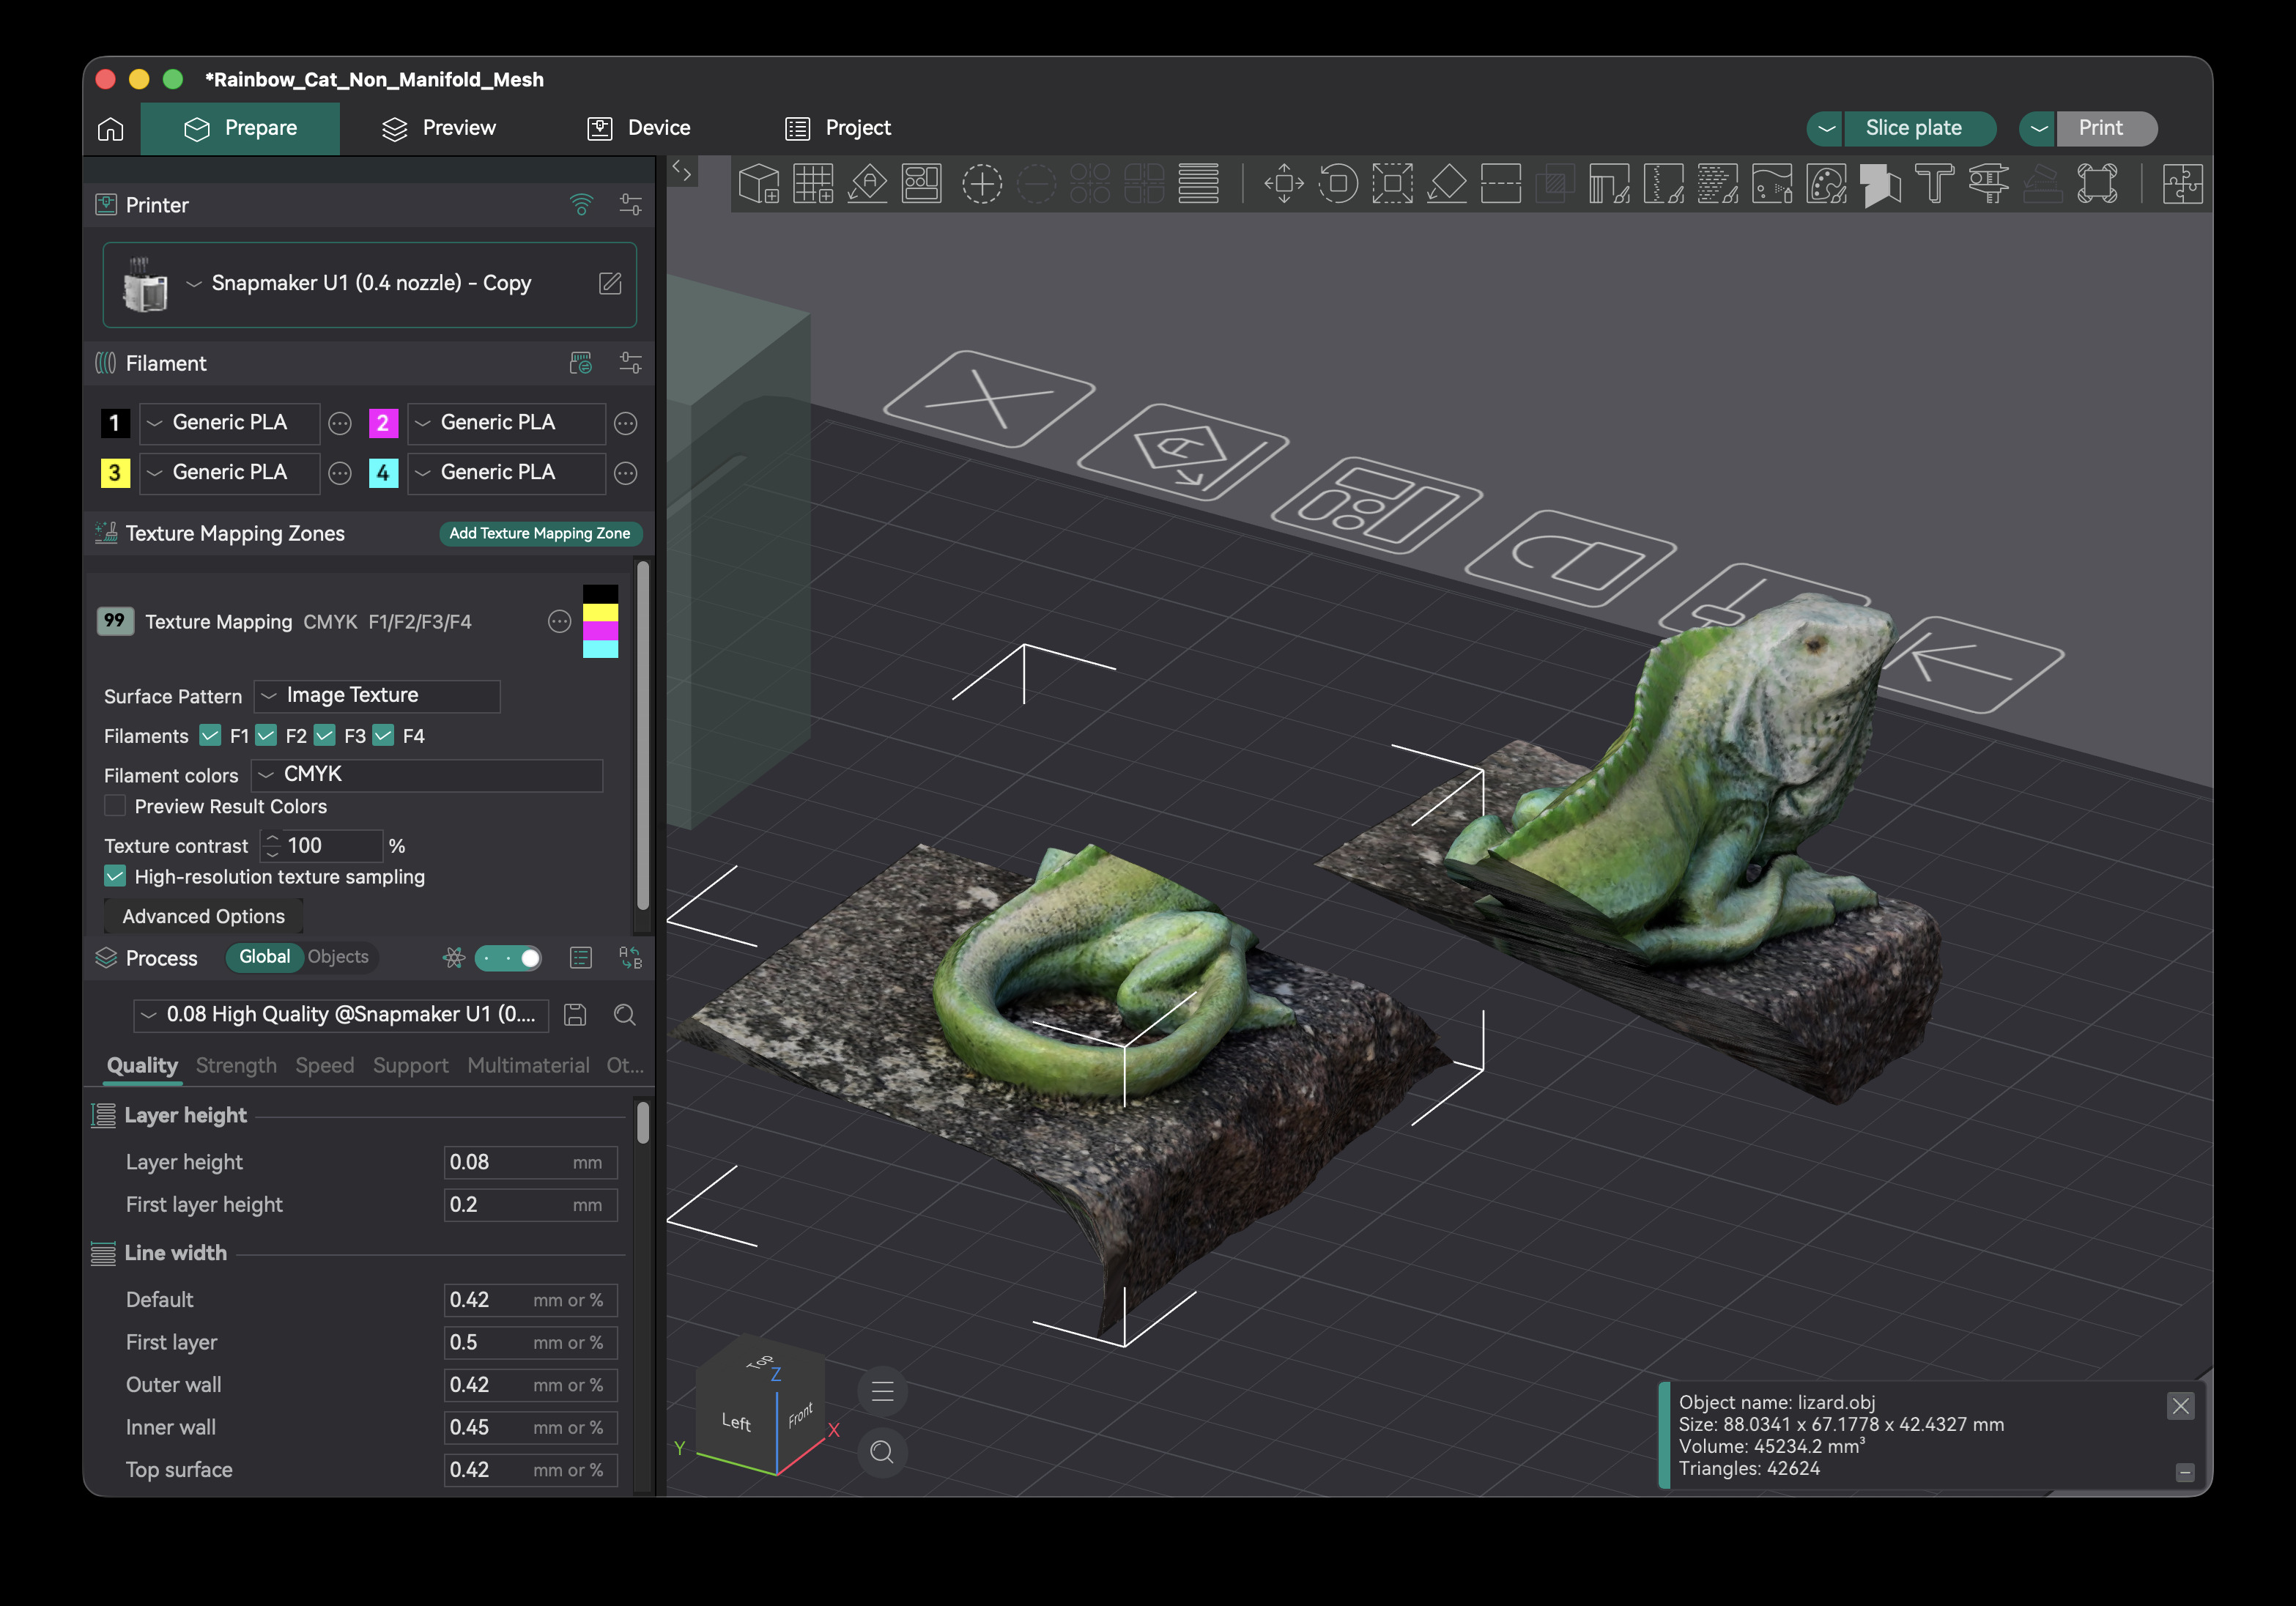 (Lizard 3D Scan by Rene-L211979, CC BY 4.0)
Print images on your prime towers
- Turn your prime towers into ornaments (requires no extra tool changes, and typically <1g additional filament)
Print with only one tool change per layer
- When printing image textures with this technique, only a single filament color is used per layer (not dependent on texture color). You can print many different models at once without increasing the number of tool changes or prime tower size. This can print faster than other multicolor techniques at the same layer height.
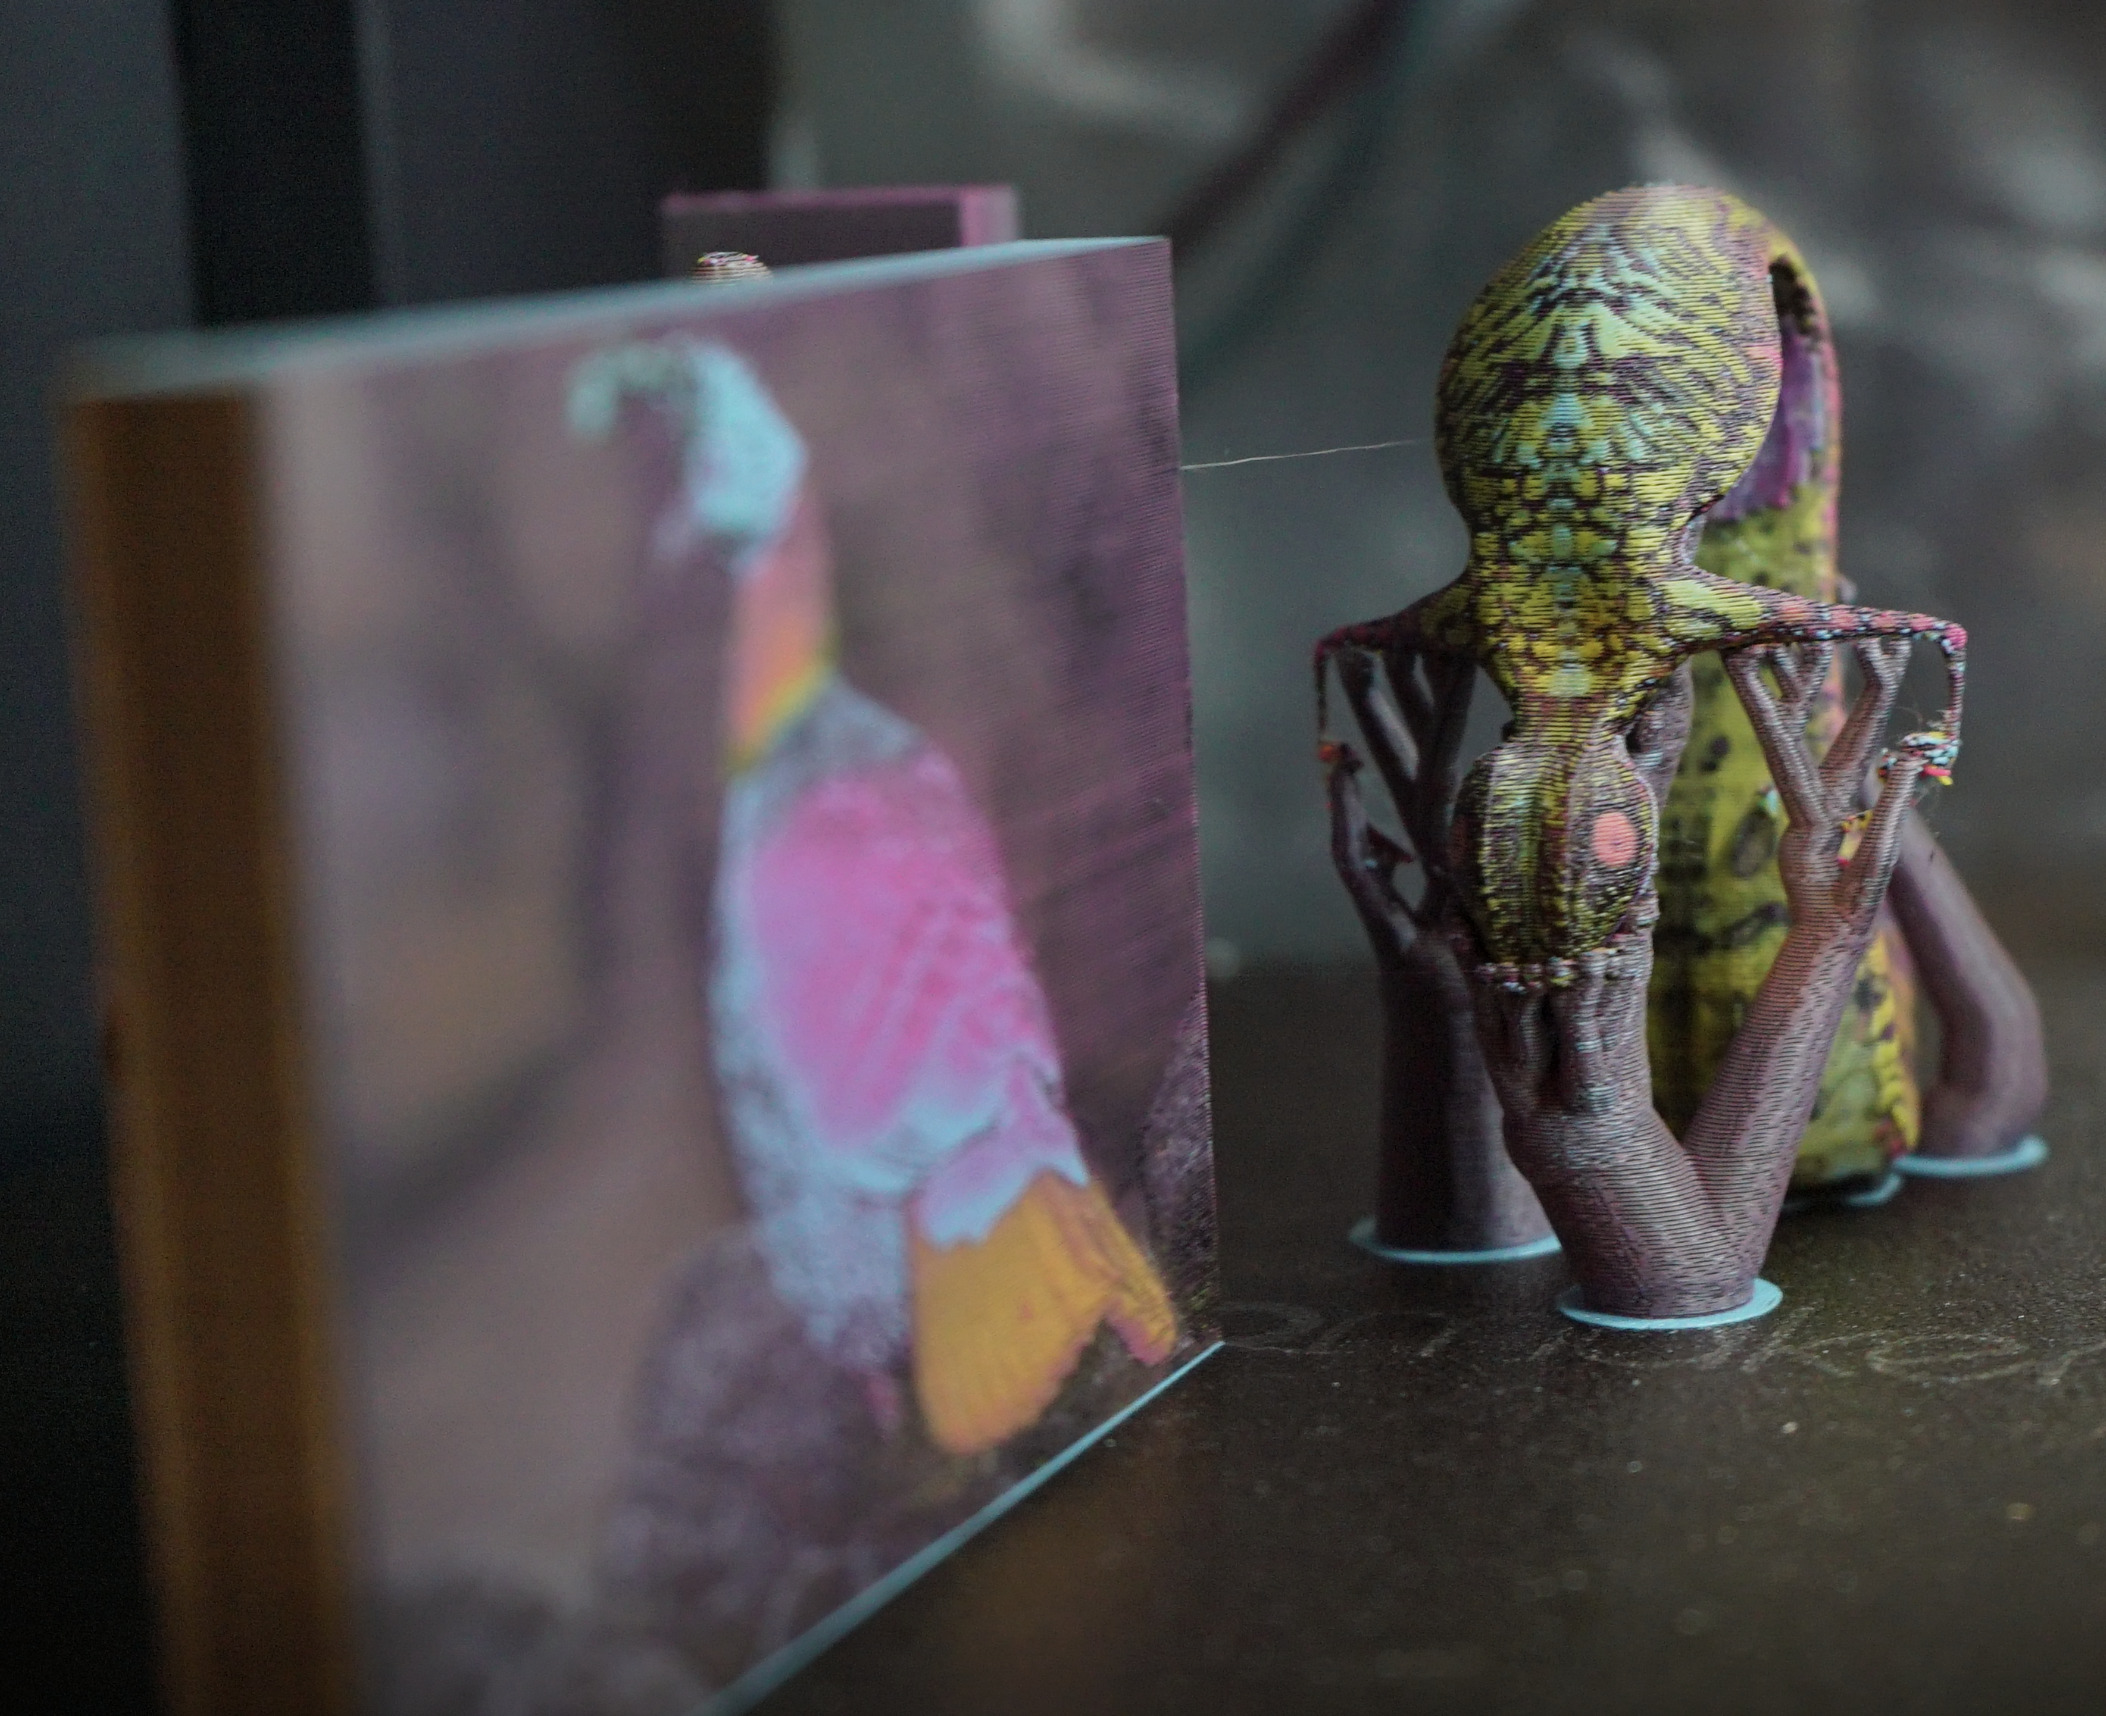
(3D model by Pedram Ashoori, CC BY 4.0) (Himalayan Monal photo from https://en.wikipedia.org/wiki/Himalayan_monal#/media/File:Himalayan_Monal_at_Sagarmatha_National_Park,_Nepal.jpg - CC BY-SA 4.0)
2D Gradient Generation
- Create 2D Gradients on your object by changing a texture mapping zone's pattern to "2D Gradient"
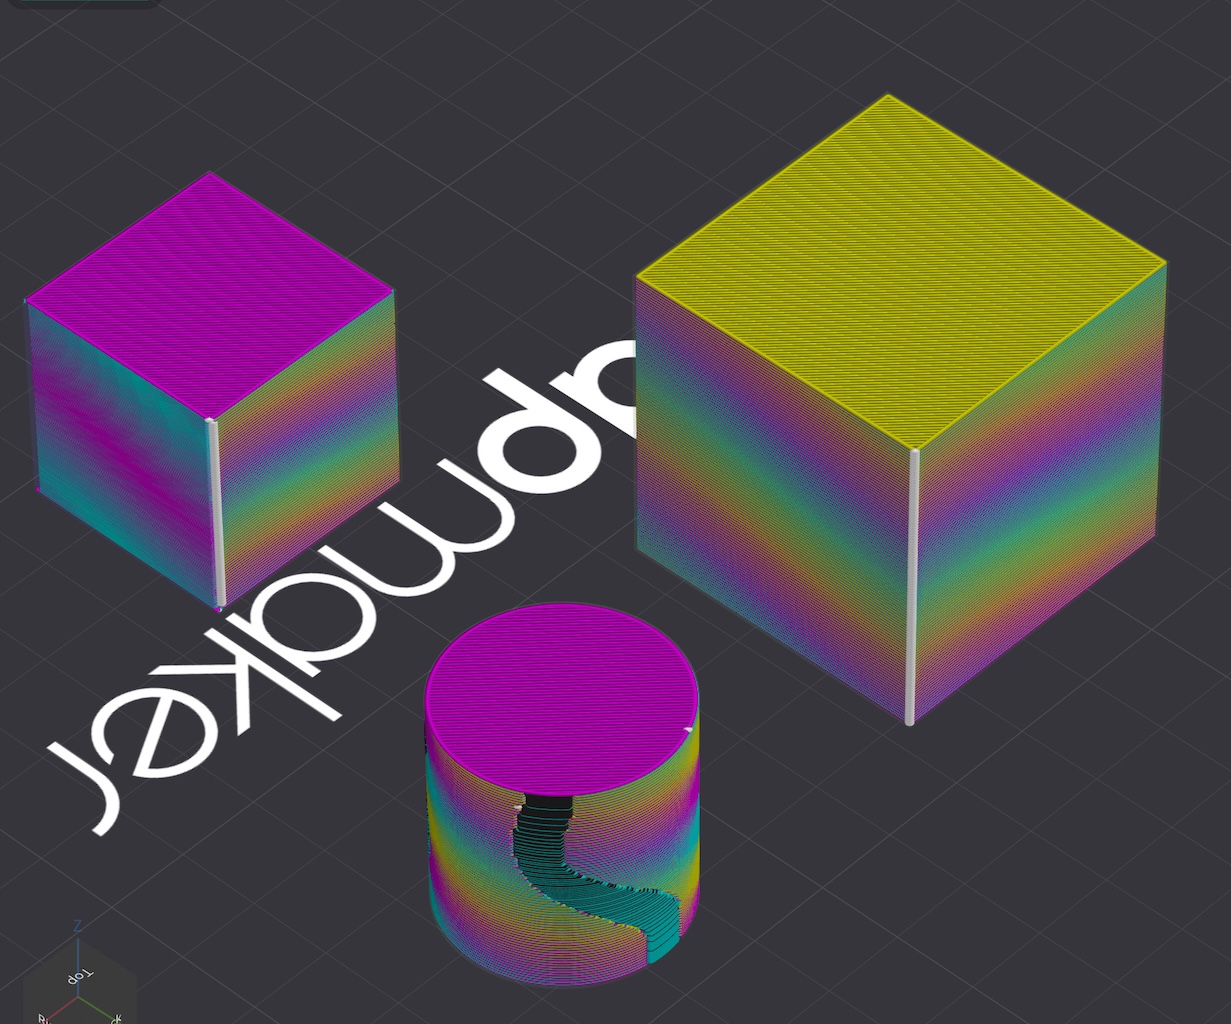
Other features/improvements implemented in OrcaSlicer-ImageMap:
- Paint filament regions by slope
- Convert between all supported color data types (image texture, vertex colors, 3mf filament painting regions, RGBA data)
- For example you could import a 3mf with region painting and convert it to a texture (with autogenerated UV map)
- Triangulate 3D models on import (before only OBJs with triangles or quads could be imported)
- Halftone image dithering (for stylized effect)
- Integrates with Filament Painting
- Texture mapping and 2D gradients work with OrcaSlicer filament region painting, so you can have texture mapping on one part of the model, and a solid filament color or gradient somewhere else.
Download
Beta Release Builds
📥 Download the Latest Build
Explore the latest developments in OrcaSlicer-ImageMap with our builds for MacOS and Windows. Feedback is highly appreciated.
How to install
Windows
Download the Windows Portable build for your preferred version from the releases page.
-
Troubleshooting
- If you have troubles to run the build, you might need to install following runtimes:
- MicrosoftEdgeWebView2RuntimeInstallerX64
- vcredist2019_x64
- Alternative Download Link Hosted by Microsoft
- This file may already be available on your computer if you've installed visual studio. Check the following location:
%VCINSTALLDIR%Redist\MSVC\v142
Mac
-
Download the DMG for your computer from the Releases
-
Drag OrcaSlicer.app to Application folder.
-
The macos builds in this repository are not signed, so to run you also need to follow the instructions below:
Quarantine
-
Option 1 (You only need to do this once. After that the app can be opened normally.):
- Step 1: Hold cmd and right click the app, from the context menu choose Open.
- Step 2: A warning window will pop up, click Open
-
Option 2: Execute this command in terminal:
xattr -dr com.apple.quarantine /Applications/OrcaSlicer.app -
Option 3:
- Step 1: open the app, a warning window will pop up

- Step 2: in
System Settings->Privacy & Security, clickOpen Anyway:

- Step 1: open the app, a warning window will pop up
-


Linux
Currently builds are not available for linux, you must build this yourself
Tips and advice for printing with image textures:
Filament
- In my test prints shown above I used PLA with transmission distances of around 2-4
- Avoid using filament with higher TD values with line width modulation mode, such as filaments labelled 'translucent' or 'transparent', as they are likely to lead to washed out/pale colors (this technique works by overhanging filament sagging and blocking the layer below, so if you use filament that is too translucent the color below will still be visible).
- On the other hand, filament that is very opaque can cause horizontal lines to be too visible, so I recommend filaments with middle ground TD values
- If you don’t have a TD measurement device you can look up community sourced filament TD values on filamentcolors.xyz or 3dfilamentprofiles.com
- If you're using translucent filament I recommend using perimeter path modulation mode v2 (you can set it in the options panel for each texture zone, in the modulation mode tab)
- To use top-surface texturing (still WIP), translucent filaments will likely be required otherwise color depth will be reduced
Overhang amount
- The range between the minimum and maximum outer wall line width in Multimaterial settings determines the maximum overhang amount, which will affect the strength of your colors (essentially, larger range -> stronger colors).
- The default min/max values are 0.32-0.95 for a 0.4mm nozzle, if you use a different size nozzle you should change these values accordingly.
- With smaller nozzles than 0.4mm you won't be able to achieve as much overhang, so might have to use opaque filament to avoid faded colors.
- When adjusting these limits keep in mind that they are bounded by what is physically possible with your nozzle. Setting them too large or small could cause print instability, bad results, or even damage your printer. Change at your own risk - if you don't know what you're doing, leave them at their defaults.
Color mode
- If you want to print with custom colors and not just preset modes (CMYK, RGBW, etc.), select the Generic Solver option. This mode attempts to recreate the colors in your object’s image texture using whatever filaments you assign.
- If you want to make sure a filament is used on a certain part of your image, set it to a hex color code picked from of that area. Keep in mind if you set your filament color too far from the actual filament, it can affect colors on other parts of your print
Converting textured models to obj in blender
How to convert other 3d model formats to obj (so they can be loaded in ImageMap):
-
Step 1: Import your model in blender using File -> Import (and selecting the file type that corresponds to your model)
-
Step 2 (optional): Change the viewport shading mode to 'Material Preview' in the top right of the viewport, to check that your model textures are loaded properly.
- If your model has vertex colors doing this won't show them (this is fine). In this case you can skip past step 3 as there won't be any textures to unpack.
-
Step 3A: Unpack the image textures from your model using File -> External Data -> Unpack Resources. This should work, but often runs into errors when I try to use it, so if it doesn't work go to step 3B. Otherwise skip to step 4.
-
Step 3B: If you couldn't automatically unpack the model textures, expand this and follow these instructions instead of 3A
- Change the editor type to "Image Editor" by clicking the dropdown in the top left of the viewport.
- Next click the small picture icon dropdown in the top middle of the screen. It should show a list of image filenames, i.e. Image_0, Image_1, etc.
- For each image file that looks like it could be a model texture (has similar colors to your model), repeat this step:
- Select the image from the dropdown and then go to "Image -> Save As" in the top bar. Save the image in the folder you are going to export your obj model to
- There will often be other kinds of image data here you don't need to unpack (specular maps, etc.). if you're not sure which ones you need it doesn't do any harm to export all of them
-
Step 4 (optional): Triangulate your mesh.
- If your model contains large n-gons, the slicer won't be able to import it. This step converts all faces into triangles to solve the issue
- 4.1 - Click on your object, then go to the Modifiers tab on the right panel (blue spanner icon).
- 4.2 - Click 'Add Modifier', and add a Generate -> Triangulate modifier.
- 4.3 - Click the down arrow to the right of the new Triangulate modifier, and click 'Apply'
-
Step 5: After unpacking your model images and/or triangulating the model, you can now export the obj. Go to File -> Export and select "Wavefront (.obj)"
- Set Materials -> Path Mode in the export dialog to "Copy"
- If your model uses vertex colors instead of textures, make sure "Colors" is enabled in the Geometry tab
- You can also check that the Up Axis is set to "Y" and UV Coordinates are enabled in this export dialog (but these should be already set by default)
-
Step 6: Your model is now converted to obj. You can now open ImageMap and use File -> Import -> "Import 3MF/STL/STEP/SVG/OBJ/AMF..." to load this obj file with its color image texture.
How to Compile
All updated build instructions for Windows, macOS, and Linux are now available on the official OrcaSlicer Wiki - How to build page.
Please refer to the wiki to ensure you're following the latest and most accurate steps for your platform.
Klipper Note
If you're running Klipper, it's recommended to add the following configuration to your printer.cfg file.
# Enable object exclusion
[exclude_object]

# Enable arcs support
[gcode_arcs]
resolution: 0.1
Some Background
Open-source slicing has always been built on a tradition of collaboration and attribution. Slic3r, created by Alessandro Ranellucci and the RepRap community, laid the foundation. PrusaSlicer by Prusa Research built on Slic3r and acknowledged that heritage. Bambu Studio in turn forked from PrusaSlicer, and SuperSlicer by @supermerill extended PrusaSlicer with community-driven enhancements. Each project carried the work of its predecessors forward, crediting those who came before.
OrcaSlicer began in that same spirit, drawing from BambuStudio, PrusaSlicer, and ideas inspired by CuraSlicer and SuperSlicer. But it has since grown far beyond its origins. Through relentless innovation — introducing advanced calibration tools, precise wall and seam control, tree supports, adaptive slicing, and hundreds of other features — OrcaSlicer has become the most widely used and actively developed open-source slicer in the 3D printing community. Many of its innovations have been adopted by other slicers, making it a driving force for the entire industry.
OrcaSlicer-ImageMap is a fork of OrcaSlicer made by sentientstardust, to add image printing support using overhang and alternating CMYK (or other color) layers.
The OrcaSlicer logo was designed by community member Justin Levine (@freejstnalxndr).
Acknowledgements
Use of filament overhang to create the appearance of continuous side-surface imagery based on Kuipers, et. al 2018
Top surface color blending inspired by V. Babaei et. al, 2017
Thanks to neotko for suggesting I experiment with variable line width
Thanks to everyone who has beta tested and given feedback
License
- OrcaSlicer-ImageMap is licensed under the GNU Affero General Public License, version 3. OrcaSlicer-ImageMap is forked from OrcaSlicer.
- OrcaSlicer is licensed under the GNU Affero General Public License, version 3.
- The GNU Affero General Public License, version 3 ensures that if you use any part of this software in any way (even behind a web server), your software must be released under the same license.
- OrcaSlicer includes a pressure advance calibration pattern test adapted from Andrew Ellis' generator, which is licensed under GNU General Public License, version 3. Ellis' generator is itself adapted from a generator developed by Sineos for Marlin, which is licensed under GNU General Public License, version 3.
- The Bambu networking plugin is based on non-free libraries from BambuLab. It is optional to the OrcaSlicer and provides extended functionalities for Bambulab printer users.
- This repository uses Pigment Painter in order to predict how filament colors will mix. Pigment Painter is licensed under the GNU General Public License, version 3.
- ColorSolver is used for fast RGB -> filament ratio conversion. ColorSolver is licensed under the GNU Affero General Public License, version 3